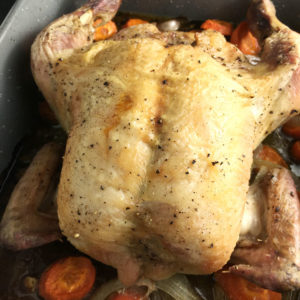
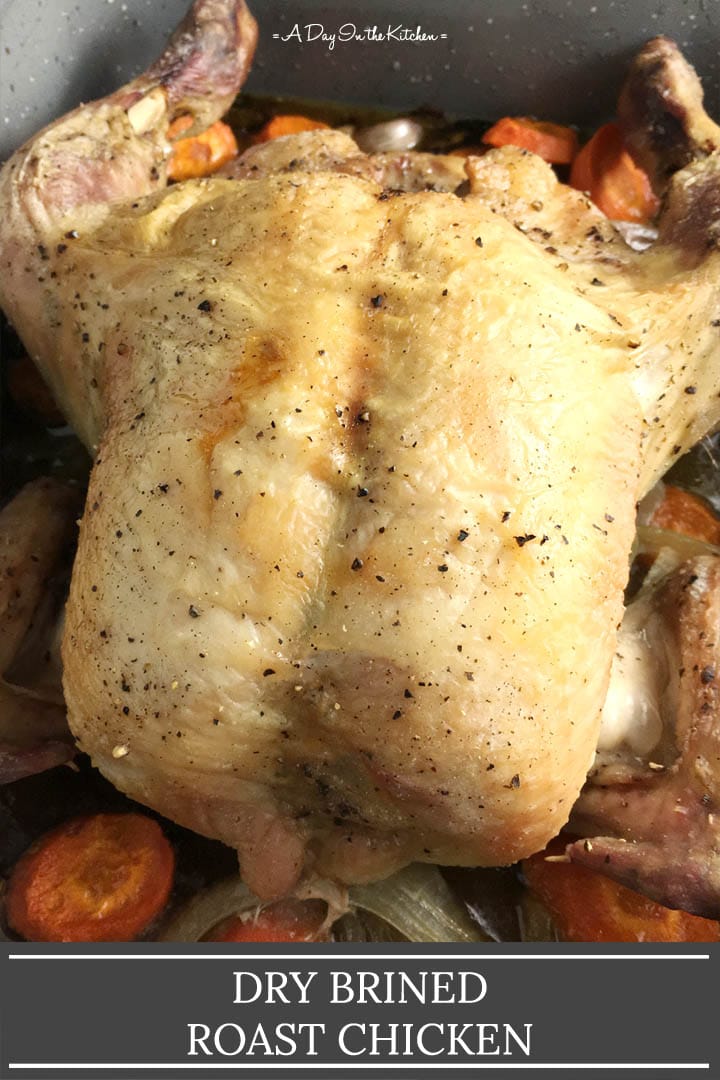
Dry brined roast chicken is roast chicken taken up a notch! Deliciously crispy skin, juicy tender meat, and seasoned simply with salt and pepper, it is roast chicken perfection!
Roast chicken is like the quintessential home meal.
It's basic yet comforting.
It's humble yet satisfying.
Make a dry brined roast chicken and you still get all those qualities and more.
You've got crispy skin and juicy tender meat, all perfectly seasoned with salt and pepper.
It's a total winner winner chicken dinner!
Wet Brining vs. Dry Brining
Certainly you've heard of wet brining chicken or turkey before...the whole process of submerging the bird in seasoned liquid for an extended period of time before roasting.
I have tried that method once and let me just say, it was enough to turn me off of the whole idea of doing it again. I had chosen to try wet brining the first time with a turkey...which meant that I had to find a big vessel to hold the giant bird completely submerged in liquid. I also had to figure out where to store the giant vessel where it would stay cold because you certainly don't want raw poultry sitting at room temperature for a couple of days.
I have thoroughly enjoyed other people's brined roast chickens or turkeys, but the effort entailed for me to do it myself just didn't seem worth it.
Then I read about dry brining in an article that mentioned the Zuni Cafe Roast Chicken. The article was actually talking about the passing of Zuni Cafe's chef, Judy Rodgers, and how her dry brined roast chicken was one of her most popular dishes. I looked up the recipe, learned about dry brining, and my chicken roasting world was forever transformed.
Dry brining is simply coating the chicken with salt and letting it sit in the fridge for a day or two. That's it. No liquid. No large vessel to hold the bird and the liquid.
Just the bird and salt.
I add fresh ground pepper to the salt, as I figure the pepper can help impart some flavor to the dry brine beyond the salt. But the main purpose of the salt, aside from flavoring, is to help dry out the skin. And if you dry out the skin, you get crispy skin.
And crispy chicken skin, my friends, is the best.
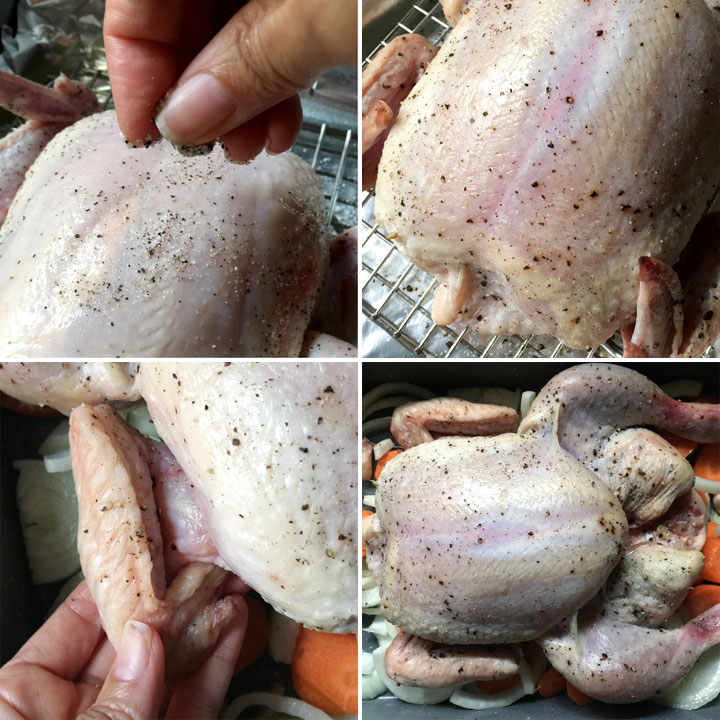
All it takes is sprinkling sea salt all over the bird and inside the cavity. Then you let it sit on a rack in a pan in the fridge for 24-48 hours.
After all those hours have passed, the skin of the chicken will have gone from whitish and plump to translucent and almost taut, or thinned. That's exactly what you want.
Roasting
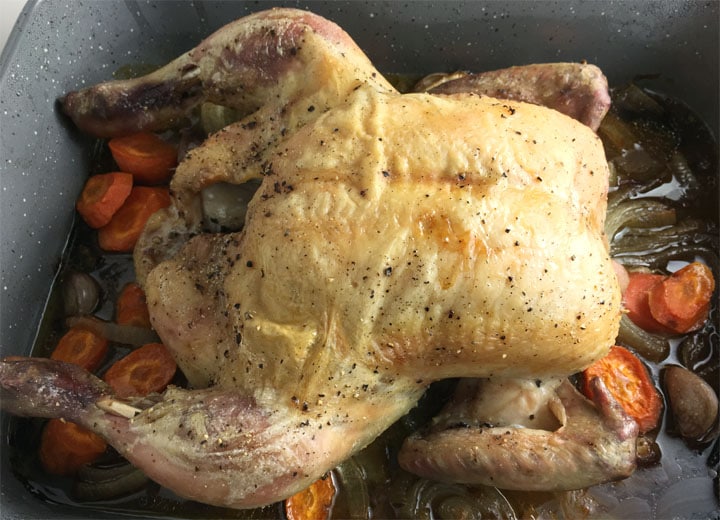
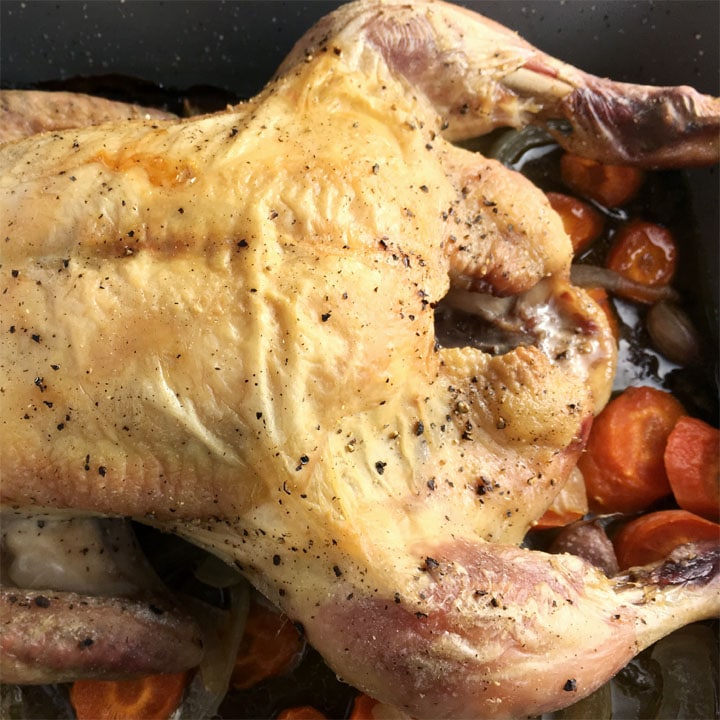
From there, I lay the chicken, breast side up, on a bed of chopped onions, carrots, and whole garlic cloves and pop it all into the oven. (See note below about the wing tips.) I preheat the oven nice and hot to 450 deg F (230C), then reduce the temperature to 400 deg F (200C) once the chicken goes in. Roast for 1 hour to 1 hour 20 minutes, until you get an internal temperature reading of 165 deg F (75C) and you are winning.
And that is all it takes to get a super delicious roast chicken dinner.
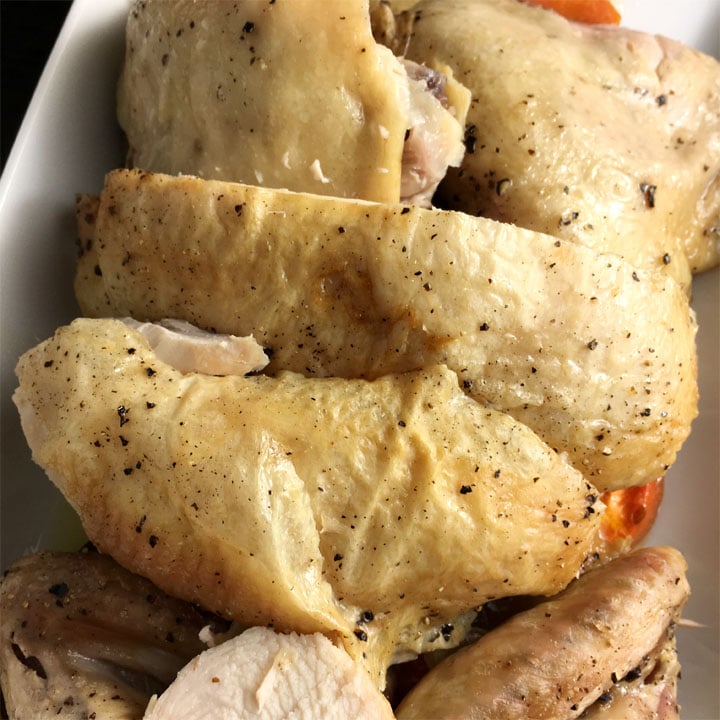
The boys are not fans of fatty chicken skin, so the drier crispy skin is right up their alley. Their favorite pieces are also the chicken breasts, which are always moist and tender and not dry.
The thighs, because they are on the bottom when roasting and because they are resting on the vegetables, do not have as crispy a skin as the breast side of the chicken. However, they are not as fatty as usual since they, too, have gone through the dry brine and have had the moisture drawn out.
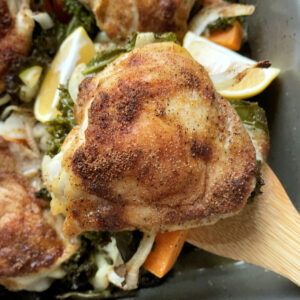
Keep in mind that dry brining can also be done to chicken pieces (not just a whole chicken) to achieve that crispier skin. Try it on drumsticks, thighs, or wings, adjusting the roasting time as necessary.
I love serving this alongside Crispy Roasted Smashed Potatoes, Simple Roasted Beets, or a Caesar salad with homemade dressing. Don't forget the carrots and onions that roasted alongside the chicken! Flavored from the chicken drippings, they go perfectly with the meal.
I, for one, am a girl who loves roast chicken. Actually, I think I love chicken in general...I actually remember my dad making comments about how I always love to eat chicken! This dry brined roast chicken recipe is no exception. It is my go-to roast chicken recipe, is simple, tastes awesome, and is a family favorite...and it just might become yours, too!
~ Lisa.
Dry Brined Roast Chicken
Ingredients
- 3-4 lb. organic free-range chicken
- Sea salt (¾ teaspoon per lb. of chicken)
- Fresh ground pepper
- 1-2 bulbs garlic cloves separated and unpeeled
- 1 onion sliced
- 2 carrots sliced
- 1 tbs olive oil
Equipment
Instructions
- Thoroughly dry chicken inside and out, using paper towels.
- Sprinkle salt and pepper evenly all over chicken and inside the cavity.
- Place the chicken on a rack in a pan and place in the fridge overnight for 24 hours. Leave chicken uncovered, or cover lightly with plastic wrap, but do not seal.
- Remove chicken from fridge about an hour before roasting to bring to room temperature.
- Preheat oven 450 deg F (230 C).
- In roasting pan, toss together sliced onions, carrots, and unpeeled garlic cloves with olive oil.
- Place chicken, breast side up, on bed of vegetables.
- Put chicken in the oven and reduce heat immediately to 400 deg F (200 C).
- Roast for 1 hour 20 minutes. Check doneness of the chicken at 1 hour. Instant-read thermometer should register at 165 deg F (75C) when inserted into the thickest part of the thigh, but not touching the bone.
- Remove chicken from oven and cover with foil. Let rest for 15-30 minutes before carving.
- Serve with the roasted vegetables and use the juices and chicken drippings as gravy.
Notes
- Dry brine your chicken for 24 or 48 hours.
- Tuck the wing tips back and underneath the wings so that they do not overcook while roasting.
- You can tie the drumsticks together before roasting, but it is not necessary.
- If vegetables are overcooking or drying out in the roasting pan after an hour, add a small amount of water to the pan.
- Dry brining can be done with chicken pieces and not just a whole chicken.
- You can also spatchcock a whole chicken and dry brine it for roasting.
Nutrition
This post was originally published May 7th, 2017 and republished on January 6th, 2020 with new writing, photos, recipe notes, and instructional photos.

Terri
Roast chicken is one of my absolute fave comfort foods! I have never tried, much less heard of dry brining, but wow - very cool! I will be trying this!
Thanks, Terri! I hope you like it when you try it!
Sabrina
So. Good! The salt and time in fridge really made the chicken crispy and so delicious! This recipe proves the best things in life are simple:-)
Katherine | Love In My Oven
We've never brined a whole chicken, but when we do it with chicken breasts it makes a world of difference! My little loves to munch on roast chicken, so we definitely gotta try this!
Yes! Dry brining chicken pieces is great, too, especially with the breast meat!
NANCY WU
lovely, I need to try this sometime.
Kate
I have never brined anything before, wet or dry, but I do love a crispy skin so maybe it’s time I try. This chicken looks awesome!
Please do give it a try! Let me know what you think!
Colleen
I've never done a dry brine before, Lisa, but this looks so good. I roast a chicken at least once a month, and now I can't wait to try this. Thank you!
Thanks, Colleen. I hope you like it!
Bernice Hill
There's nothing better than a perfectly roasted chicken with crispy skin. I've never tried a dry brine before, so I'm definitely pinning this for later!
Thanks, Bernice! I hope you get around to trying it soon!