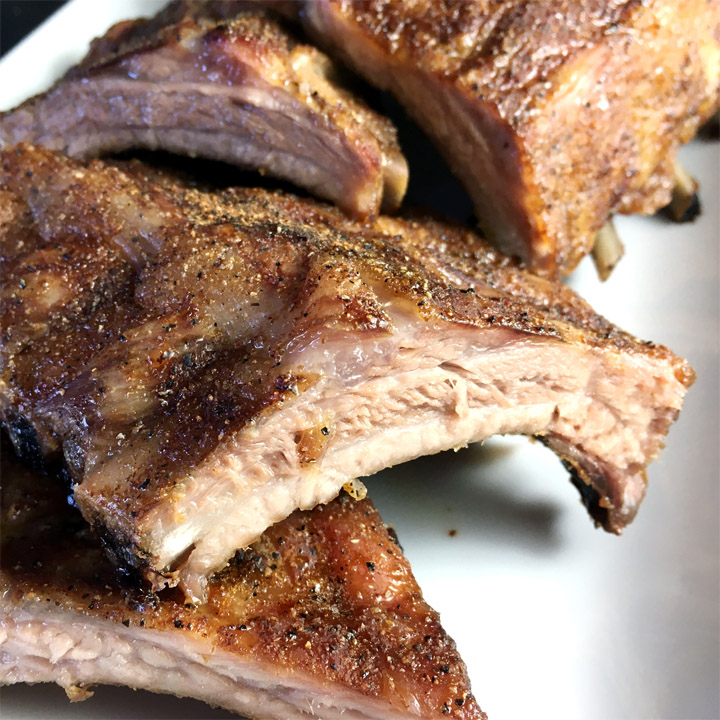
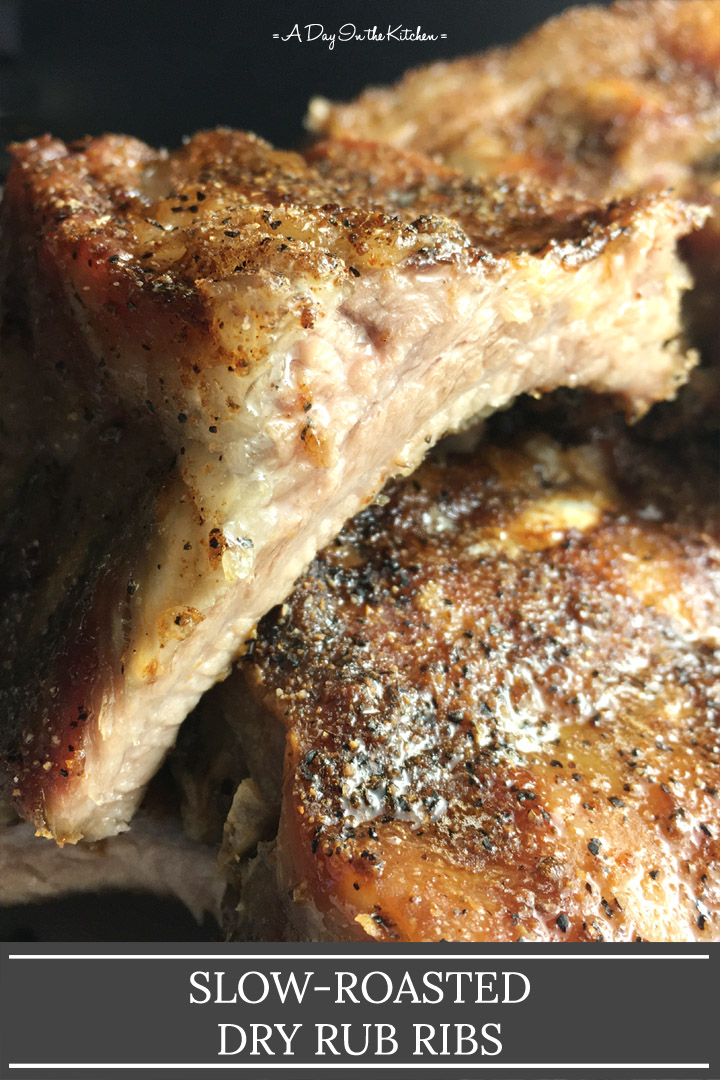
These dry rub ribs are not only tender and fall off the bone, they are packed with flavor thanks to the seasonings and spices rubbed into the meat! They're a delicious change from saucy ribs and are perfect to serve at your next outdoor gathering!
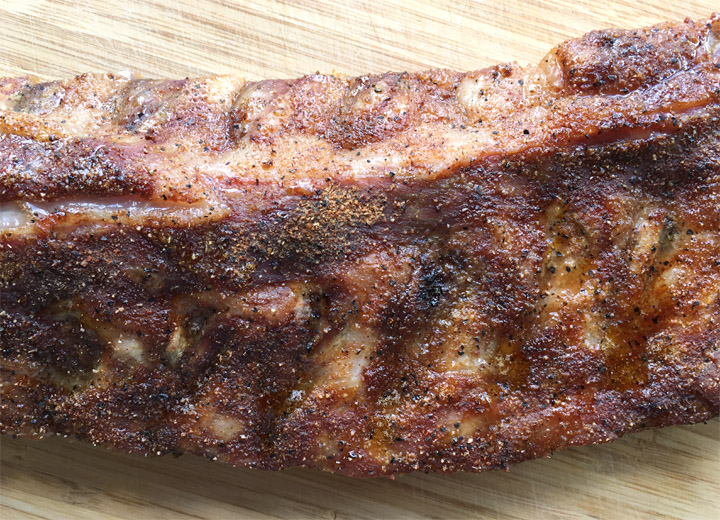
It's summer and one dish that often gets associated with summer is RIBS.
Why is that?
Maybe eating ribs is associated the idea of enjoying them while sitting outside enjoying sunshine...
...or that you can feed a lot of people and have them served at a big picnic or outdoor gathering.
Either way, I have another great rib recipe for you (because you can never have too many!)...
...that is a change from the usual saucy ribs (not that those aren't good, too!)...
...and since these are roasted in the oven, you can enjoy them any time of the year!
Preparing the Ribs
This recipe uses pork ribs, and while I like to use the baby back cut which is meatier cut, you can also use this recipe for other cuts like spareribs or St. Louis.
The ribs have a membrane, or silver skin, on the underside that many people remove. As daunting as it may sound, removing the membrane is actually very easy to do, however, it is purely optional to remove it. I have eaten plenty of ribs where it was all still intact as it is a common practice in Asian cooking to leave it on. That being said, leaving it on can make it slightly tougher, and it can also limit how much the seasonings get absorbed into the meat.
To remove the membrane, you can either start at the end of a rack and remove the membrane in one go, or make a cut through the membrane in the middle of the rack and remove it, half at a time. Either way works.
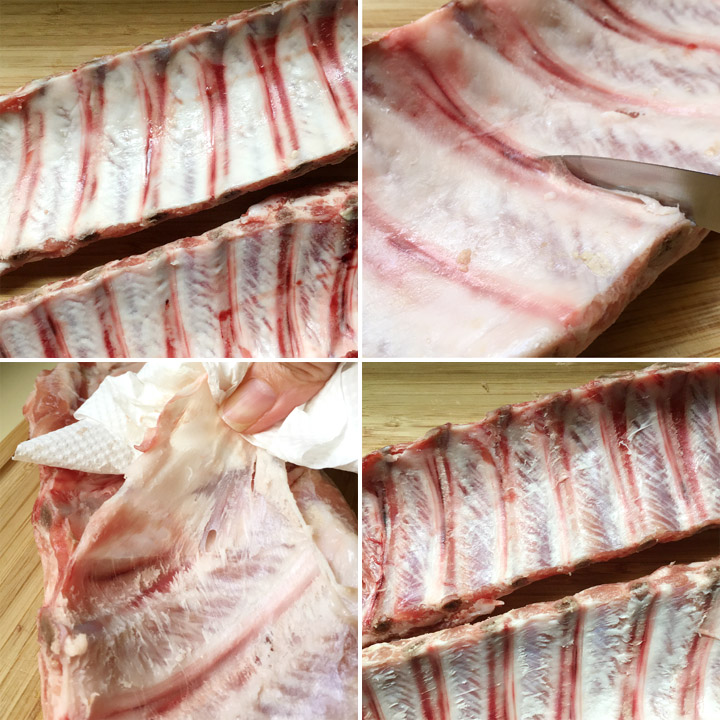
Slide a knife under the membrane and pry enough away until you can grab it. Using a paper towel to grab the membrane (so it is not so slippery), pull it off the ribs. If the membrane breaks before you've removed it all, simply use a knife again to pry underneath it, and repeat.
The Rub
The dry rub is incredibly simple, with most of the ingredients probably already sitting in your cupboard! Simply combine sea salt, black pepper, garlic powder, onion powder, paprika, coconut sugar (or brown sugar), and chili powder. If you want a bit more of a spicy kick, you can substitute the chili powder with cayenne pepper, or you can omit hot spices altogether if you wish.
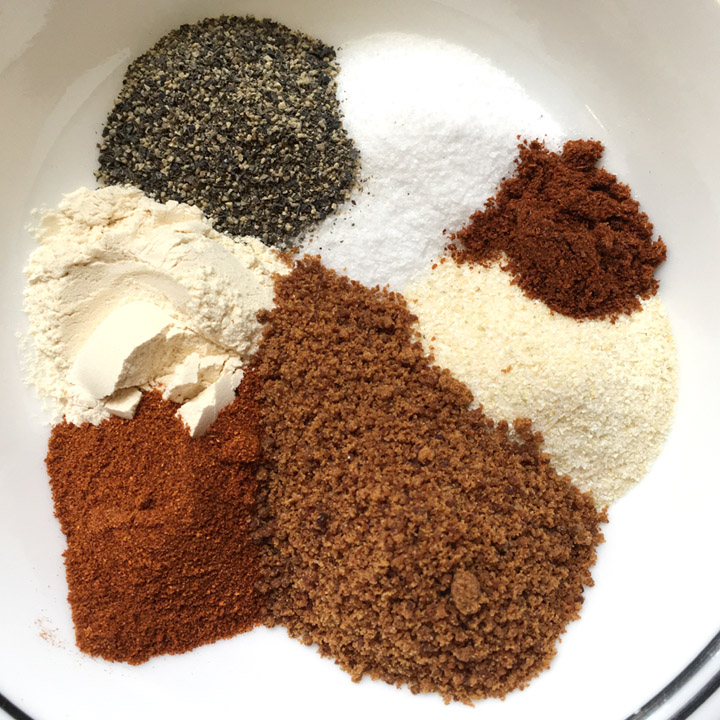
The amount of spices indicated in this recipe is enough to coat approximately 2 lbs. (1 kg) of ribs, but you could certainly double or triple the recipe and store the remaining dry rub mixture in a jar in the cupboard so it's ready to go anytime!
Lay the ribs down on a foil-lined baking sheet curved side down, and sprinkle half the dry rub mixture onto both racks, then flip the ribs over and repeat with the remaining dry rub mixture, making sure to also season the edges of the racks.
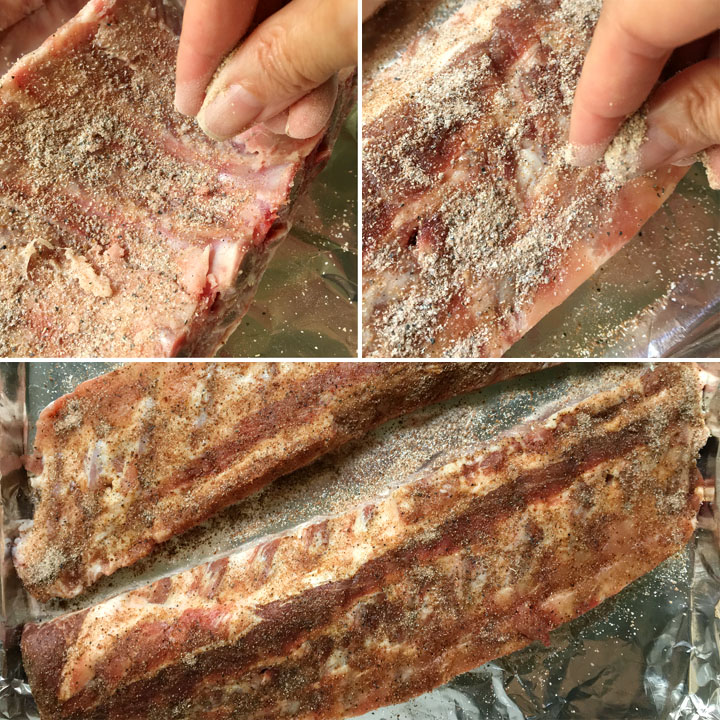
And that's it!
Time To Roast
Many rib recipes call for wrapping them in foil before roasting, but I leave the foil off for this recipe so that the dry rub can form a delicious crust all over.
I also roast them with the curved side up to prevent those meaty sides from overcooking from sitting on the pan. Quite often, if they are meaty side down, the section of rib meat that touches the pan ends up just becoming thick, dry, and tough...and who wants that? Roasting them curved side up also allows the heat to circulate all around the ribs, which again, contributes to tasty crust all over.
Finally, slow roasting at a low heat means that some of the fat slowly renders off, and that the meat doesn't dry out and stays tender. So into a 250F/130C oven it goes for 4 hours. The smell from these ribs roasting is going to have you salivating and so ready to eat!
Time to Eat
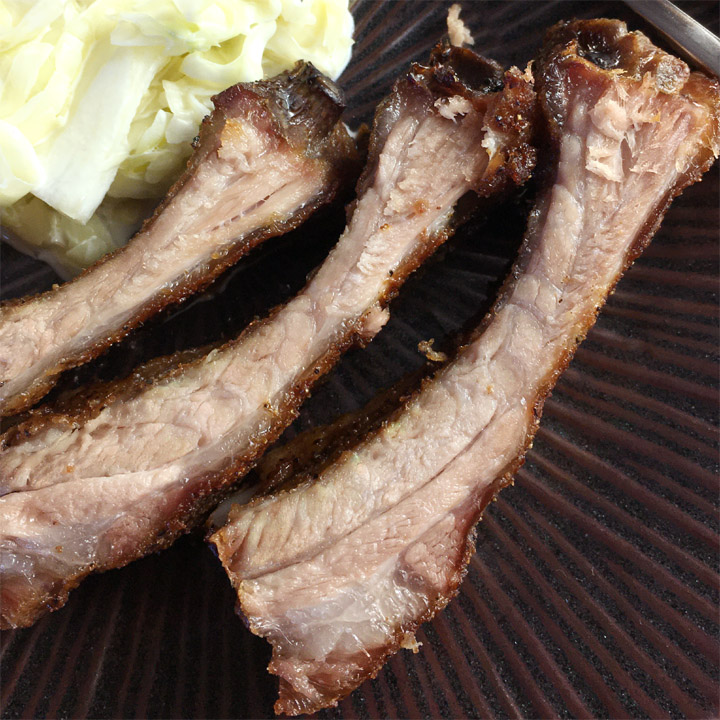
I like to cut the racks into sections of 3-4 bones since it's more fun to have your own portion to eat and you don't run into the issue of individual ribs drying out. These are fabulously tasty on their own, but if you still prefer your ribs with sauce, whip out your favorite barbecue sauce for dipping!
If you do want to try a saucy rib recipe, check out my Finger-Licking Slow-Roasted Ribs...also deliciously good and insanely easy to make!
These ribs would go perfectly with sides like my Gluten-Free Cornbread with Honey Butter and a fresh salad dressed with my Orange Honey Mustard Dressing. Or try them with some Gluten-Free Parmesan Breadsticks and my Crispy Sweet Potato Fries with Chipotle Mayo!
Since I don't own an outdoor barbecue, I'm not sure how long they would take if you wanted to cook the ribs that way, but if you try it, please let me know! And whether you enjoy these while sitting outside and enjoying beautiful summer weather or simply sitting inside in the comforts of home, whether you share them with a crowd or keep it to yourself and your family, you are going to love these tender flavor-packed ribs!
~ Lisa.
Slow-Roasted Dry Rub Ribs
Ingredients
- 2 racks baby back pork ribs
- 1 ½ tbs coconut sugar (or brown sugar)
- 1 ½ teaspoon sea salt
- 1 ½ teaspoon black pepper
- 2 ¼ teaspoon onion powder
- 2 ¼ teaspoon garlic powder
- 1 ½ teaspoon paprika
- ¼ teaspoon chili powder
- ⅛ teaspoon cayenne pepper (optional)
Instructions
Dry Rub:
- Combine all the dry rub ingredients and mix well. Set aside.
Rib Preparation:
- Slide a knife under the edge of the membrane and pry off enough until you can grab it.
- Holding the membrane with a paper towel, pull it off the rib rack.
Roasting:
- Preheat oven 250F/120C.
- Place the racks of ribs on a foil-lined baking pan, curved (meaty) side down.
- Sprinkle half the dry rub evenly and liberally over the ribs, patting the the seasoning in.
- Flip the ribs over so the curved (meaty) side is up and use the remaining dry rub to coat and pat into the surface. Be sure to season the edges of the ribs as well.
- Roast the ribs for 4 hours, uncovered.
- Cut into individual ribs or into 3- or 4-bone sections. Serve immediately.
Notes
- The amount of dry rub in this recipe is enough to coat approximately 2 lbs. (1kg) of ribs. Scale up the dry rub seasonings if you are making more than that.
- Make double or triple the amount of dry rub and store it in a jar in the cupboard so that you always have it ready and on hand for using on pork, beef, or chicken!
- Removing the membrane from the ribs is optional, but doing so will make the ribs more tender to eat and allow the flavorings from the dry rub to penetrate more into the meat.
- Omit the chili powder if you do not want the spiciness.
- Have a side dish of your favorite barbecue sauce for dipping your ribs if you still like saucy ribs!
Nutrition



Tom Donaghy
We used to do our ribs in a very wet tomato based sauce but this dry rub results in tender- but textured -meat, and loads of flavour. Our new Go-To ribs recipe.
Thank you for sharing.
TomD
Thanks so much for trying the recipe, Tom! And yes, I love the ribs have more texture, as you've said. Very happy that you liked it!
Julia
We have multiple food allergies, so i modified this recipe using the method, but only salt and liberal sprinkling of rosemary…they were tender, fall-off-the bone, and so delicious! I love this method..what could be easier?
Hi Julia! Thanks so much for trying my recipe, and I'm glad to hear that they still turned out delicious with the modifications! I love how easy this recipe is, too!
C. Reynolds
Hi! I'm a chef, and I wanted to tell you that this recipe is magnificent! I usually use an Adobo blend with brown sugar and ground mustard seed, but this is better. Thank you for sharing this. There is never a time when we can't learn a better way, is there?
Wow! I'm humbled that you even tried my recipe, let alone liked it! Thanks so much for your comments, and you're right...we can always keep learning new ways!
Cheryl Erickson
I was intimidated to try to make ribs, since I was just really learning to cook. This was so easy and so good! Regular Sunday rotation now!
Hi Cheryl! I'm so glad you tried the recipe and that you liked it! Keep on with learning to cook!
Sharon
This is a fabulous alternative to the sugary, chemical laden saucey ribs. Thanks for this!! Such a family pleasing meal.
Thanks, Sharon!
Kelly Neil
I've never made ribs before and I don't like saucy ribs so this recipe is perfect for me! Pinned to make later!!
Perfect! I hope you like them when you try them!