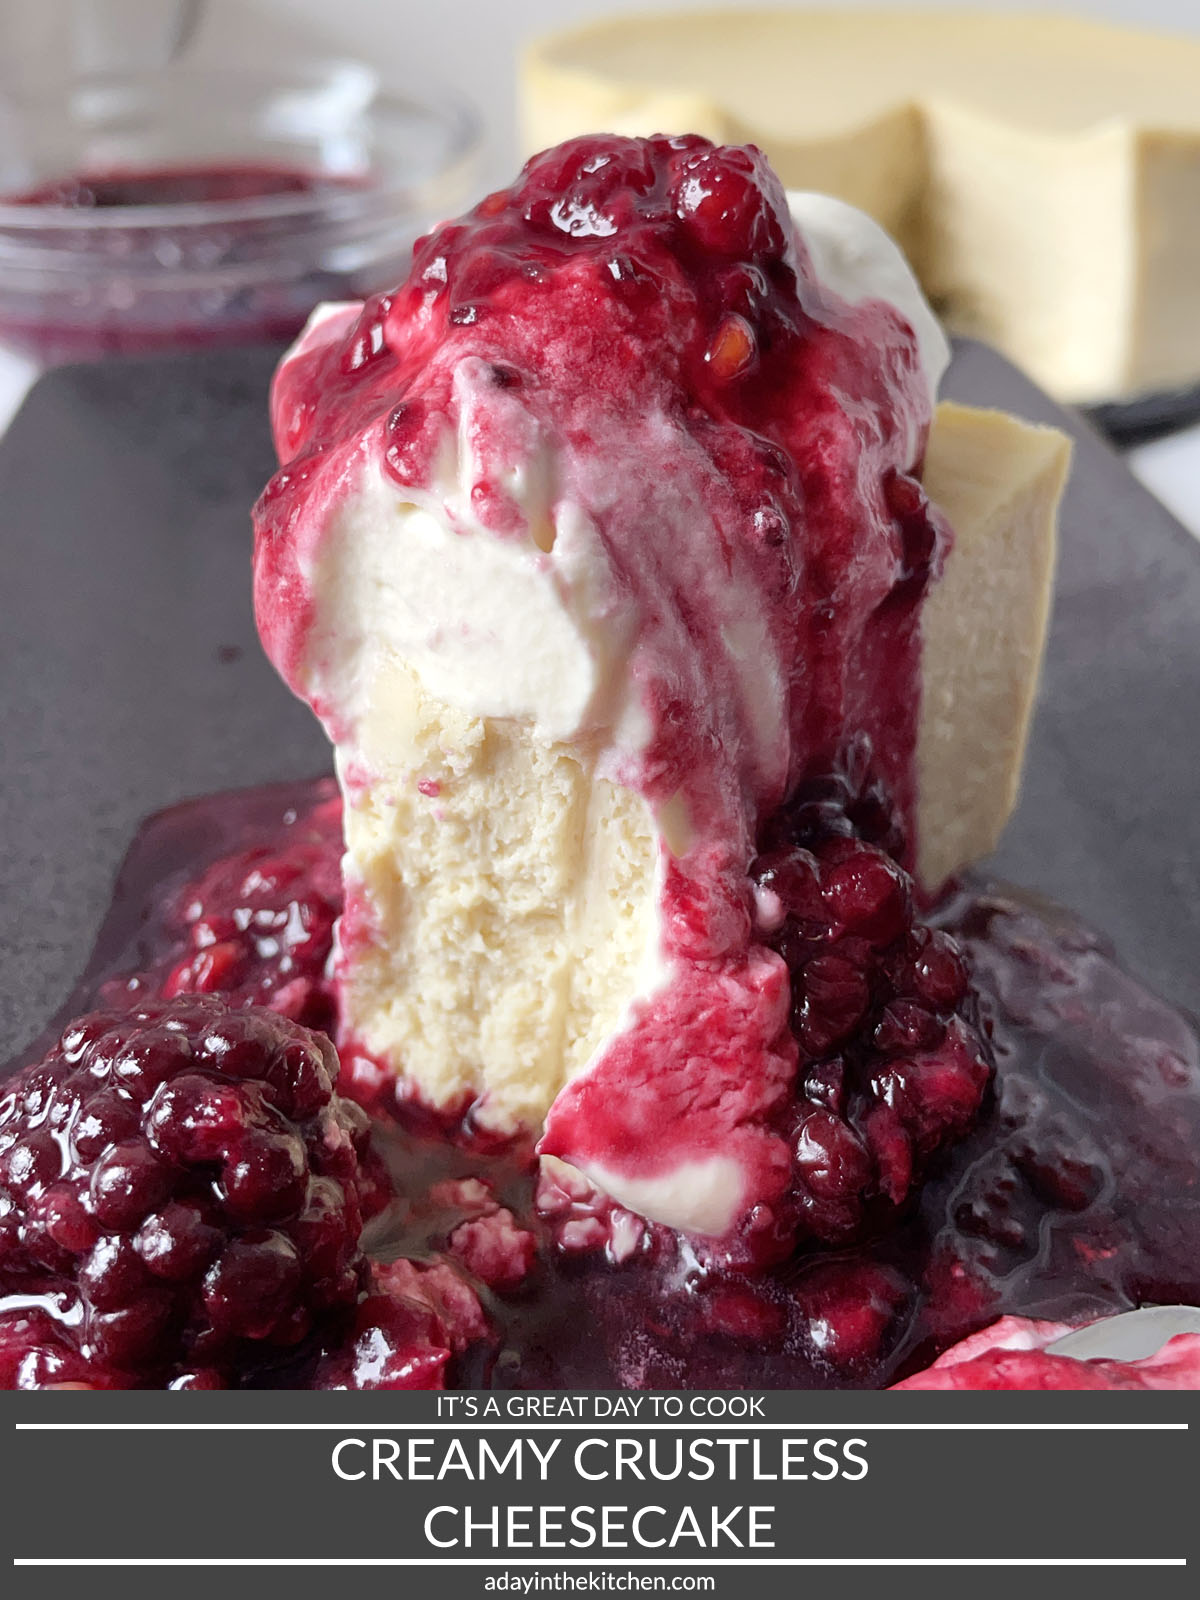
This crustless cheesecake is the perfect centerpiece dessert for your next celebratory meal or gathering! It is a breeze to make, doesn't require a waterbath, and is gluten-free, grain-free, and starch-free. Mildly sweetened with maple syrup, it is smooth, creamy, and fluffy all at the same time...it's sure to be a delicious hit!
What You Need
All you need are 5 ingredients to make this cheesecake:
- Cream cheese
- Eggs
- Maple syrup
- Yogurt
- Vanilla extract
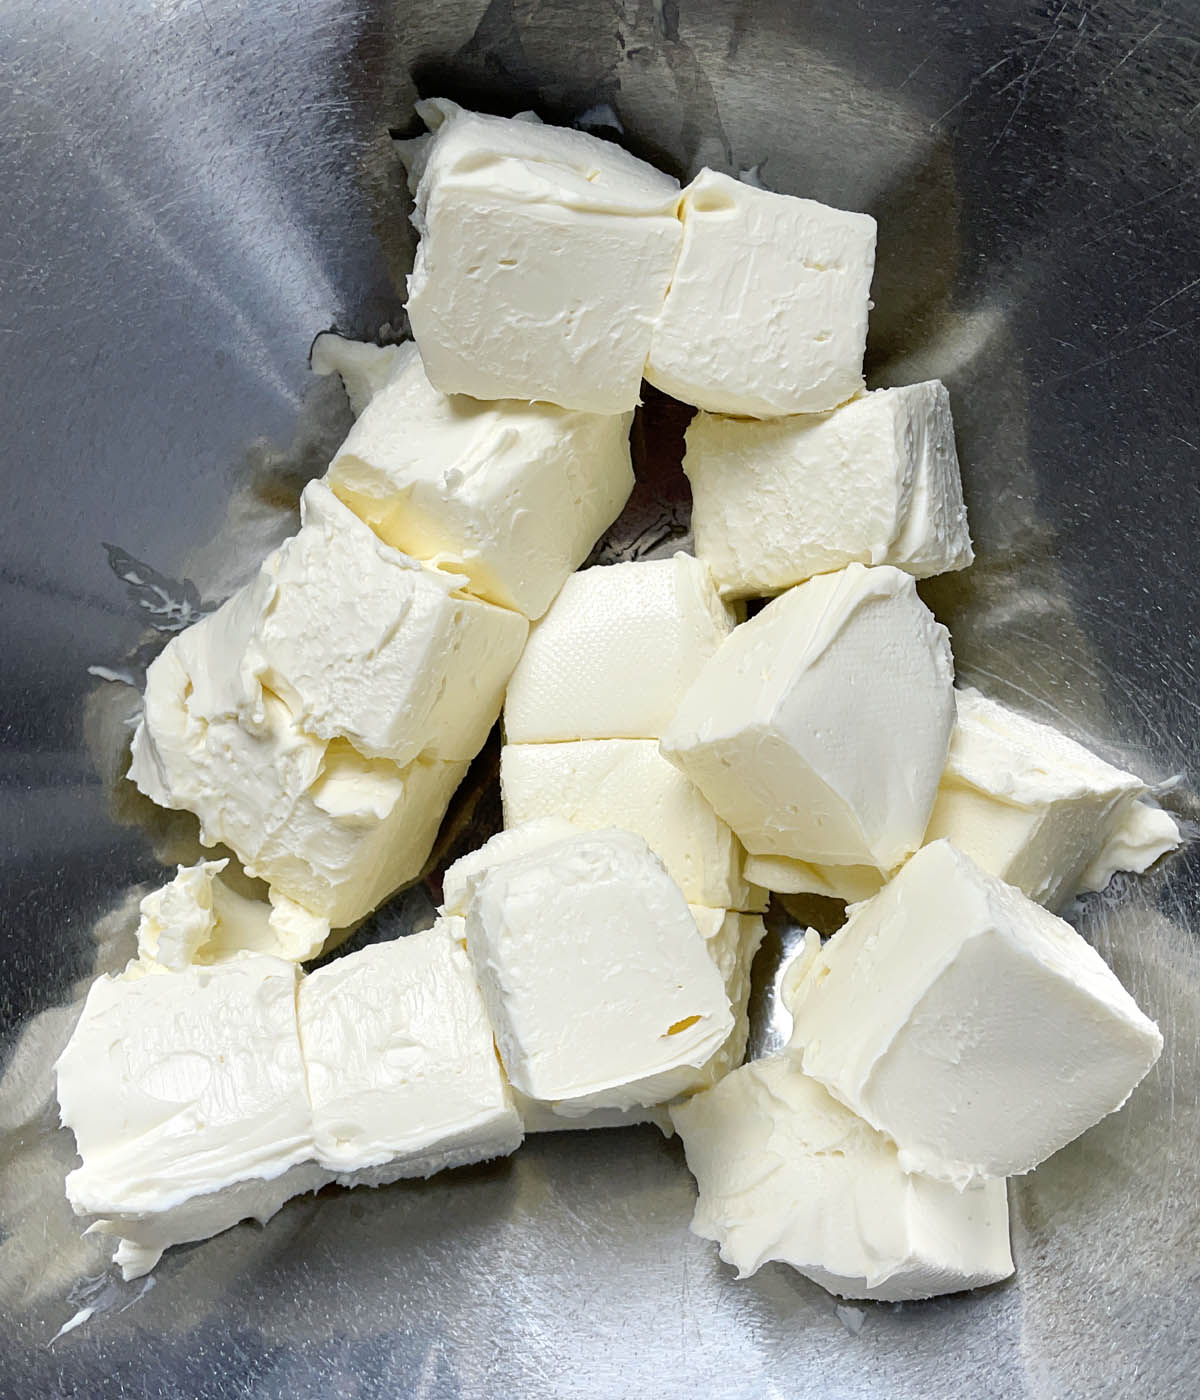
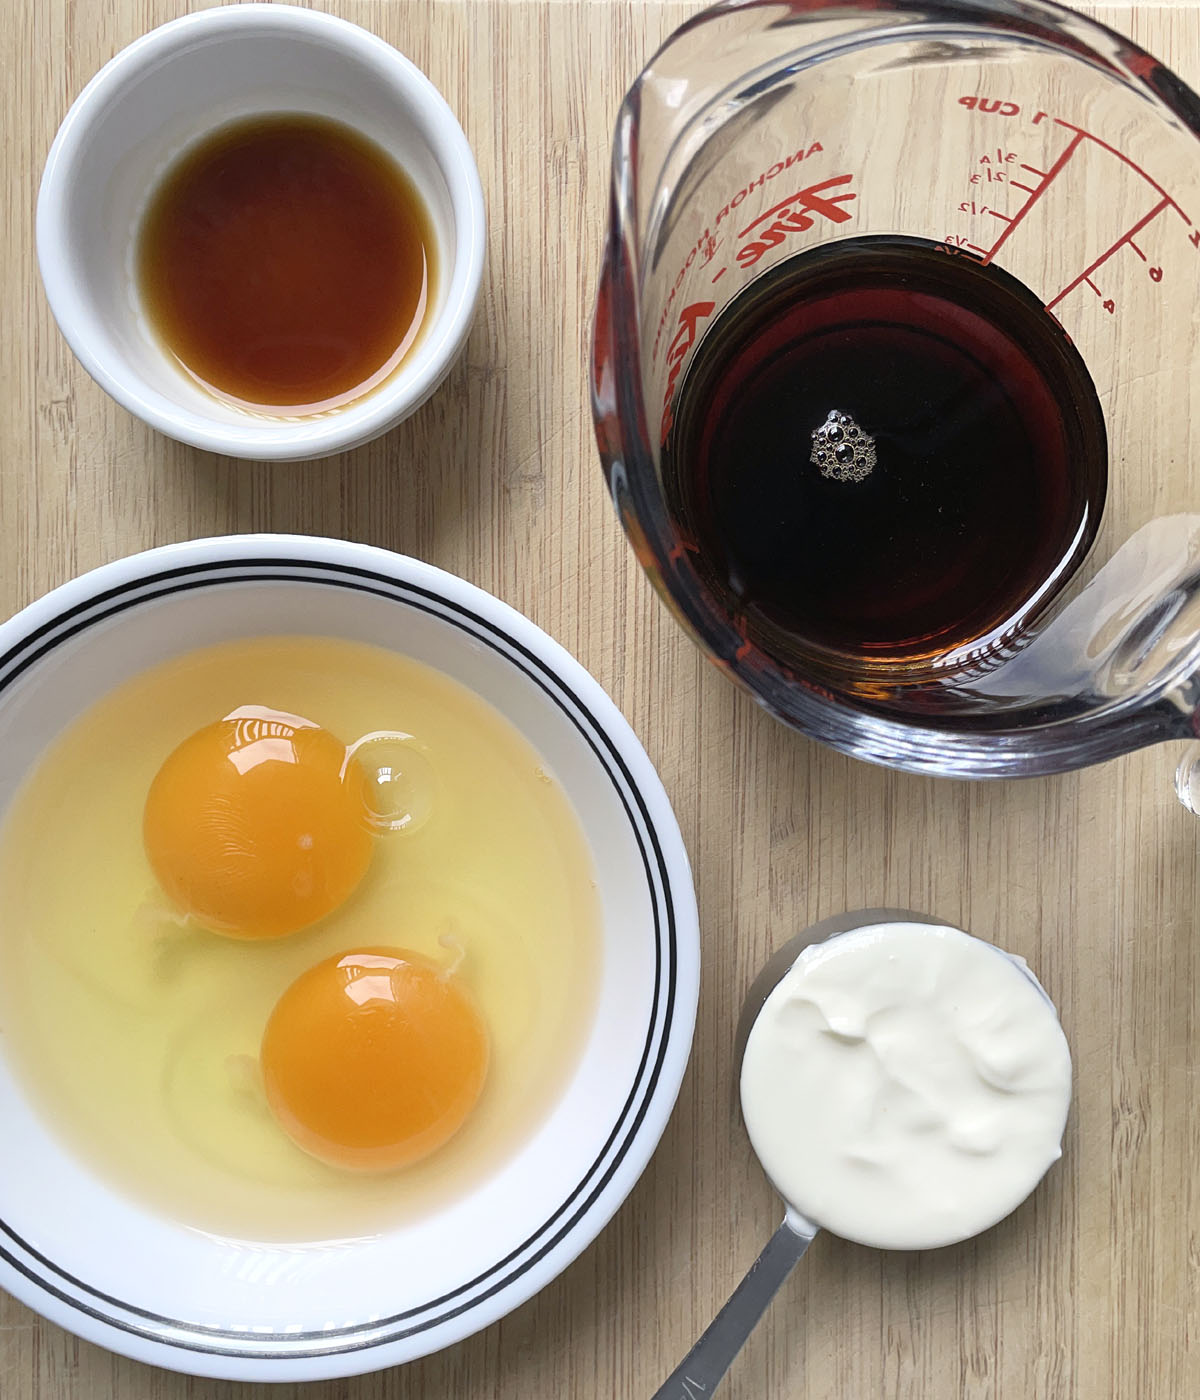
Expert Tip: All the ingredients should be room temperature when you start. This helps make all the ingredients blend together well so we get that nice smooth texture in the finished cheesecake.
This cheesecake uses a 6-inch springform pan.
How To Make It
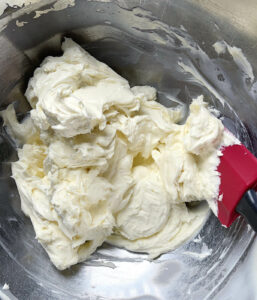
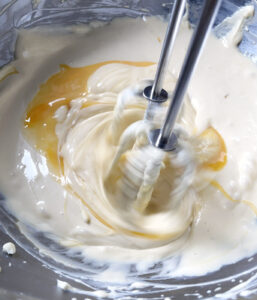
In a large mixing bowl, beat the softened cream cheese until smooth, scraping down the sides of the bowl one or two times.
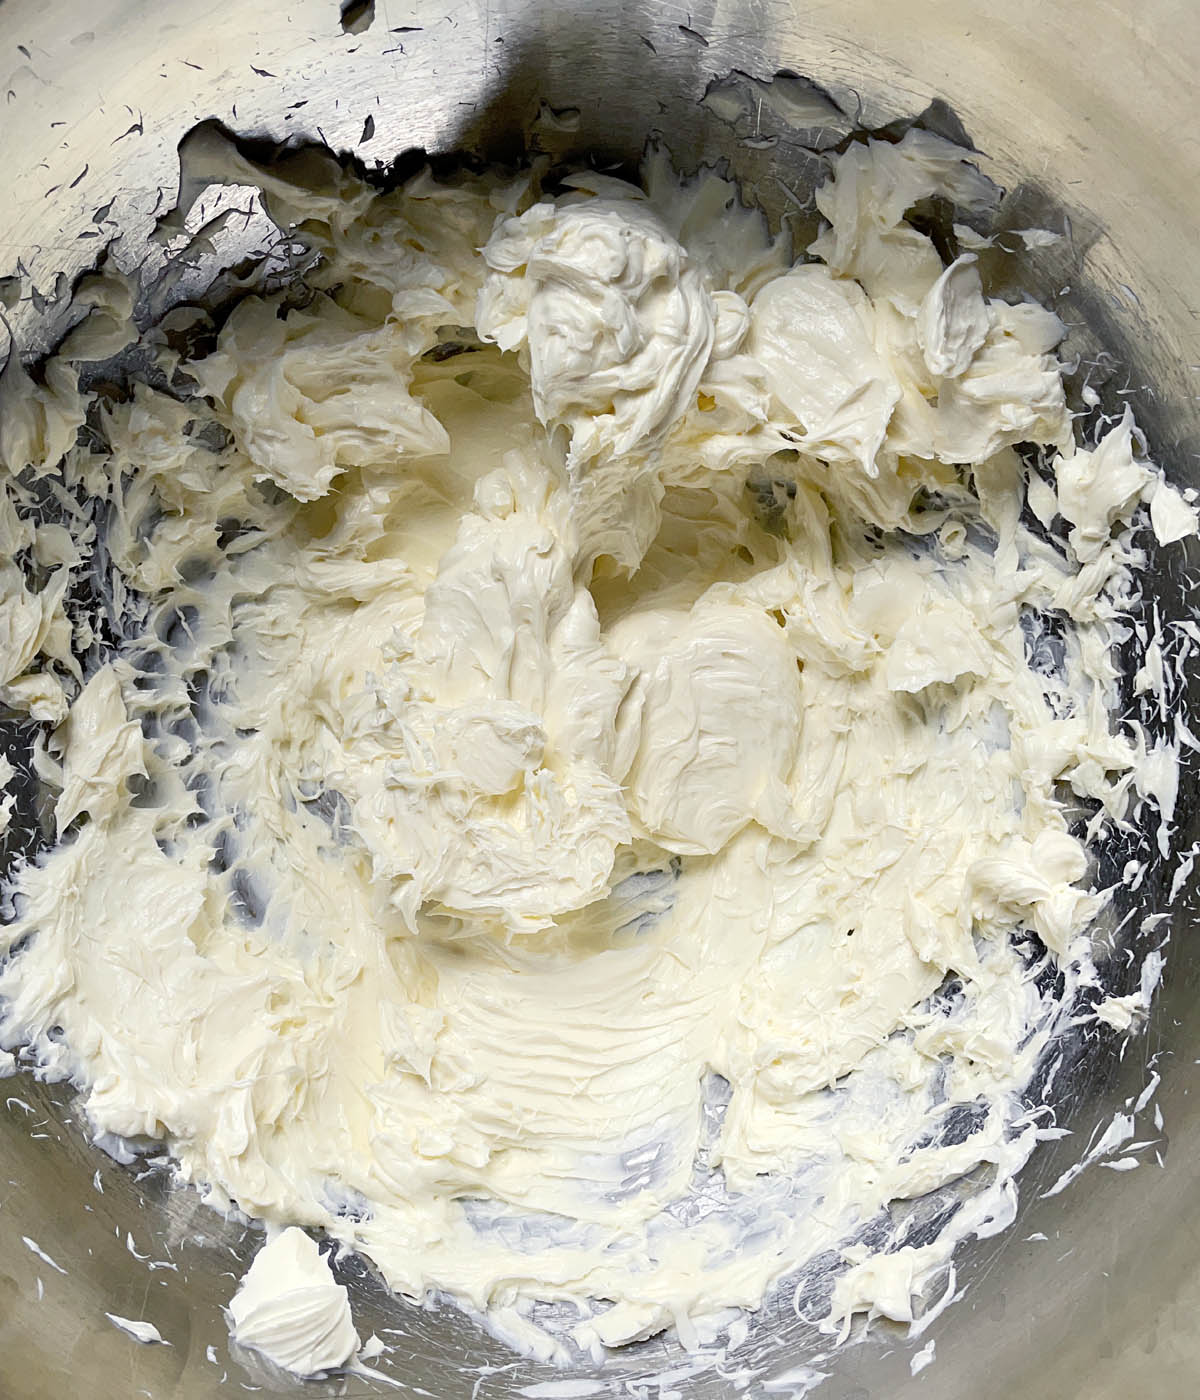

Add the maple syrup, Greek yogurt, and vanilla extra and beat.
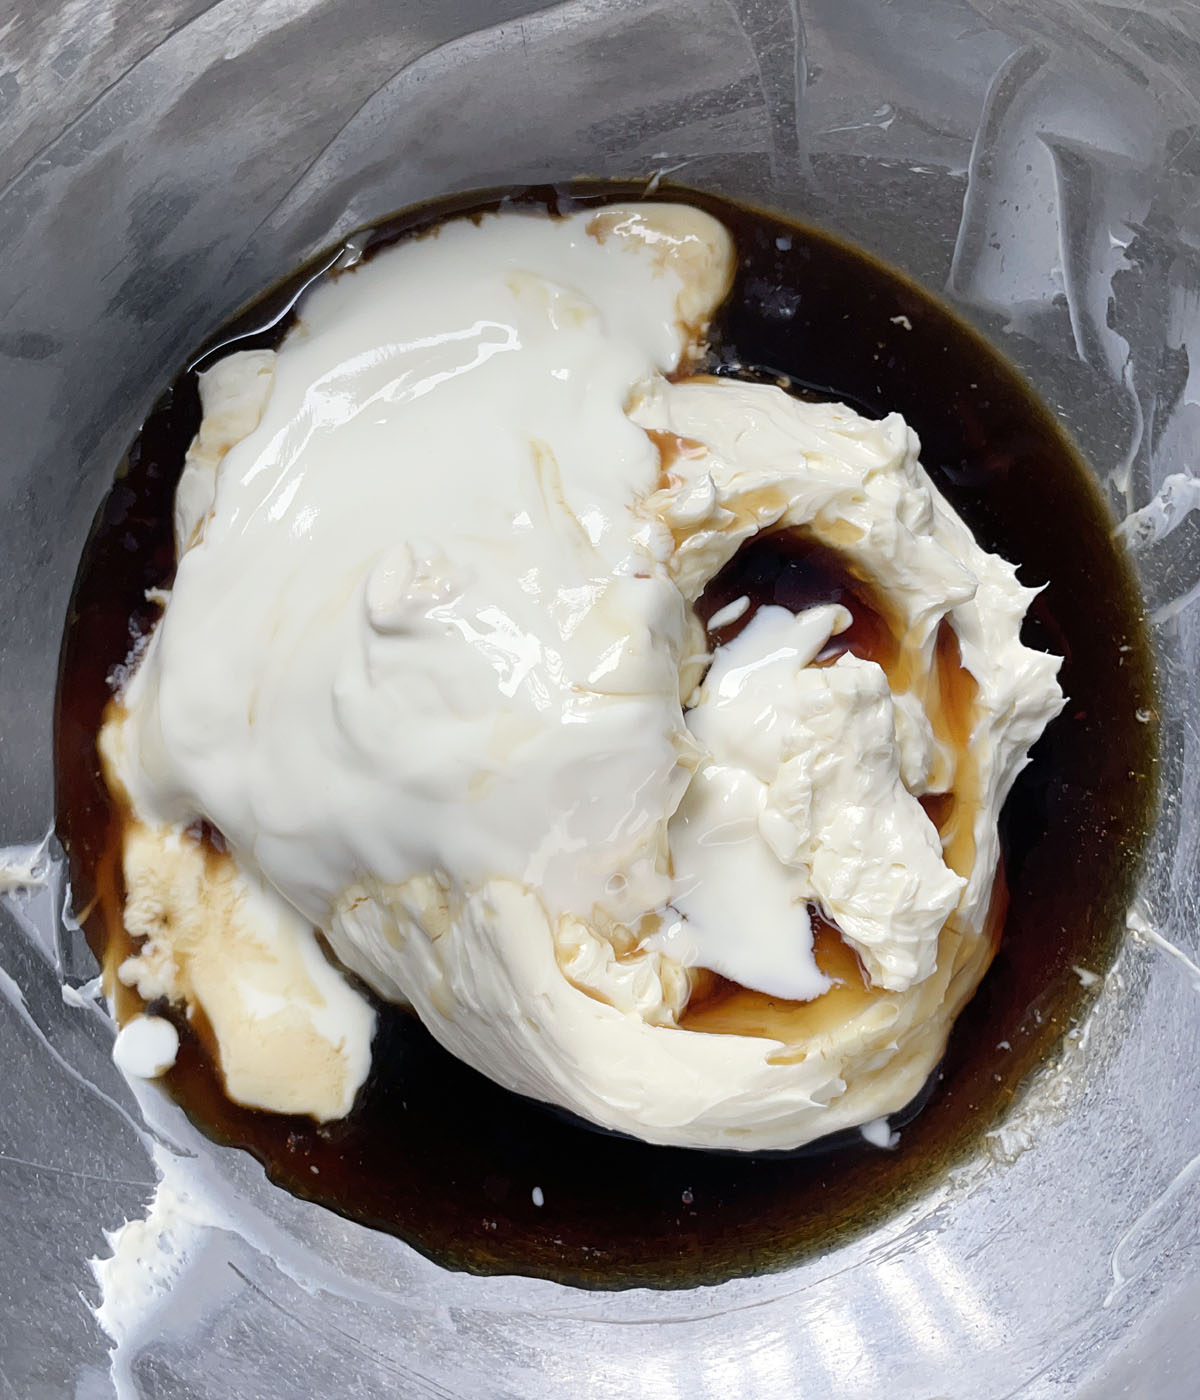
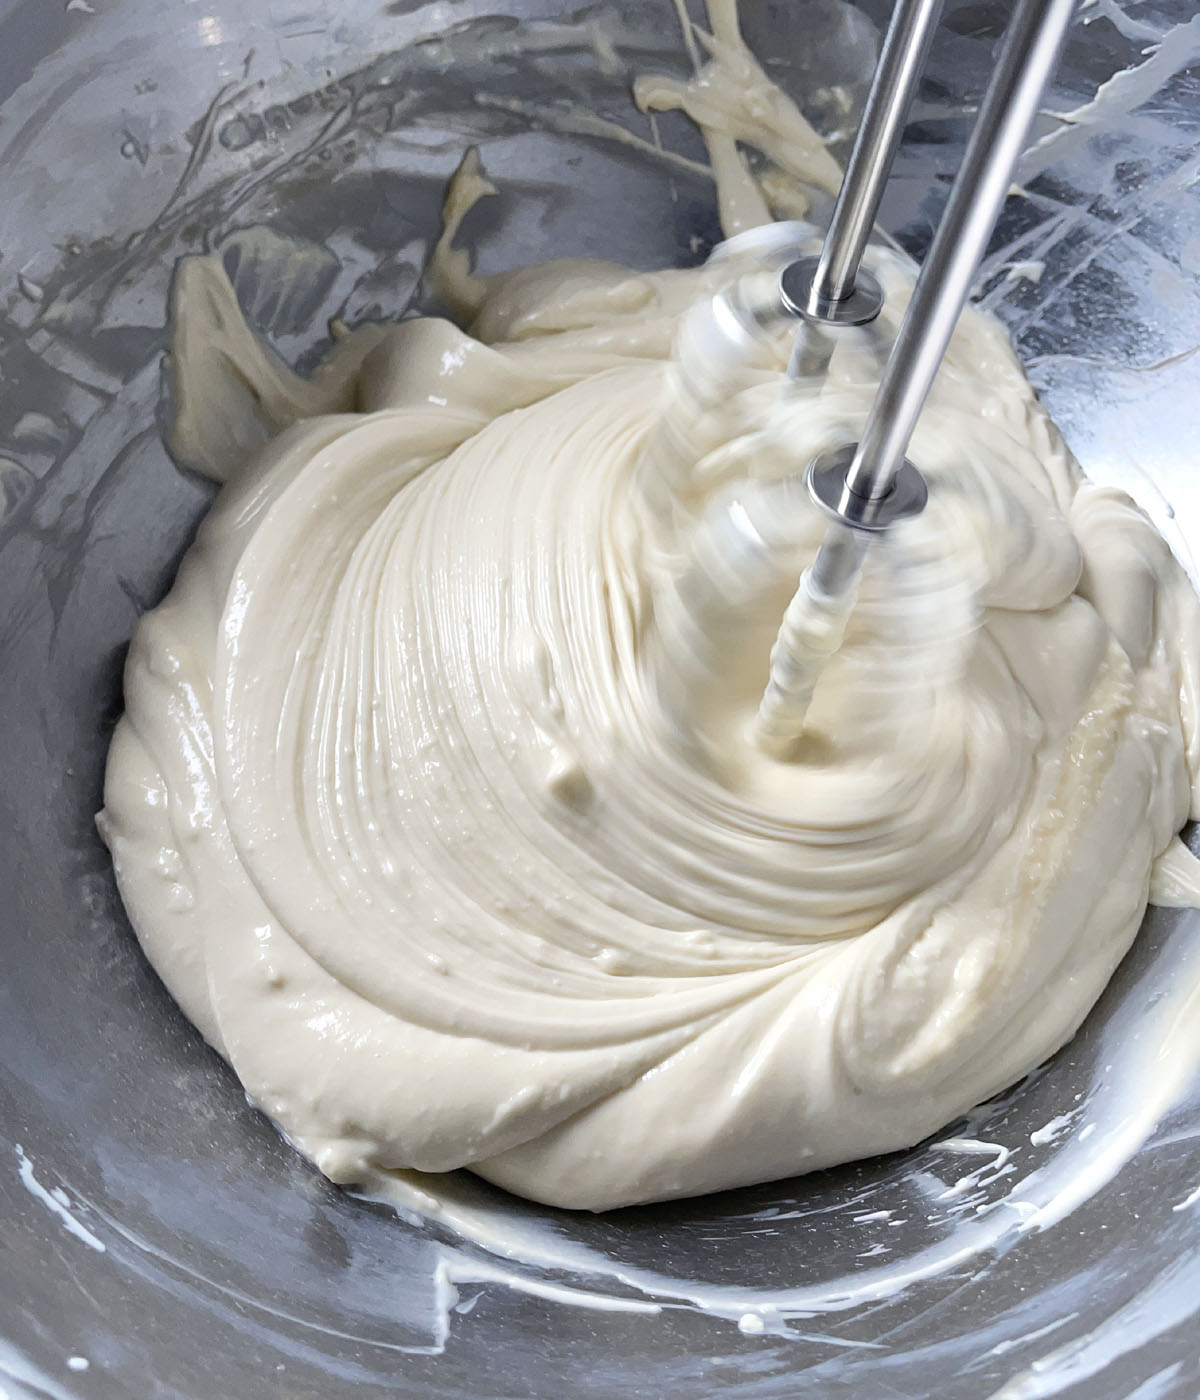
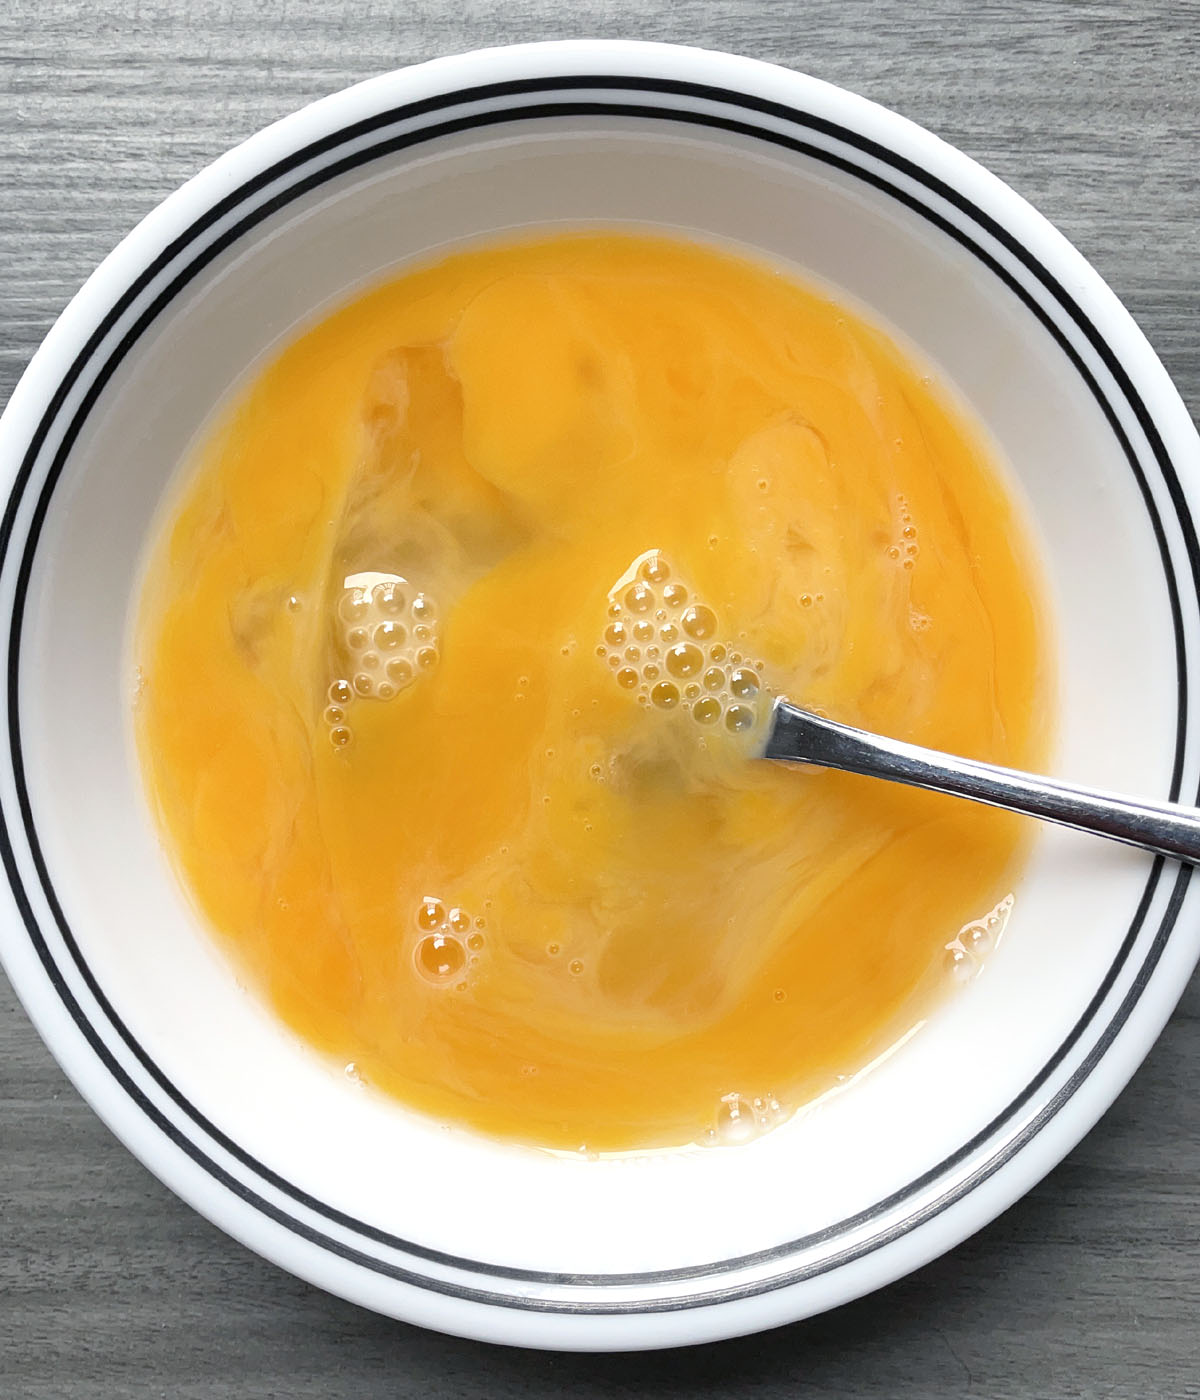
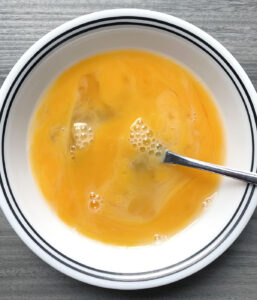
In a separate bowl, gently beat the two eggs, being careful not to whip much air into them. Add the beaten eggs, a half at a time to the cream cheese mixture, beating until just blended.
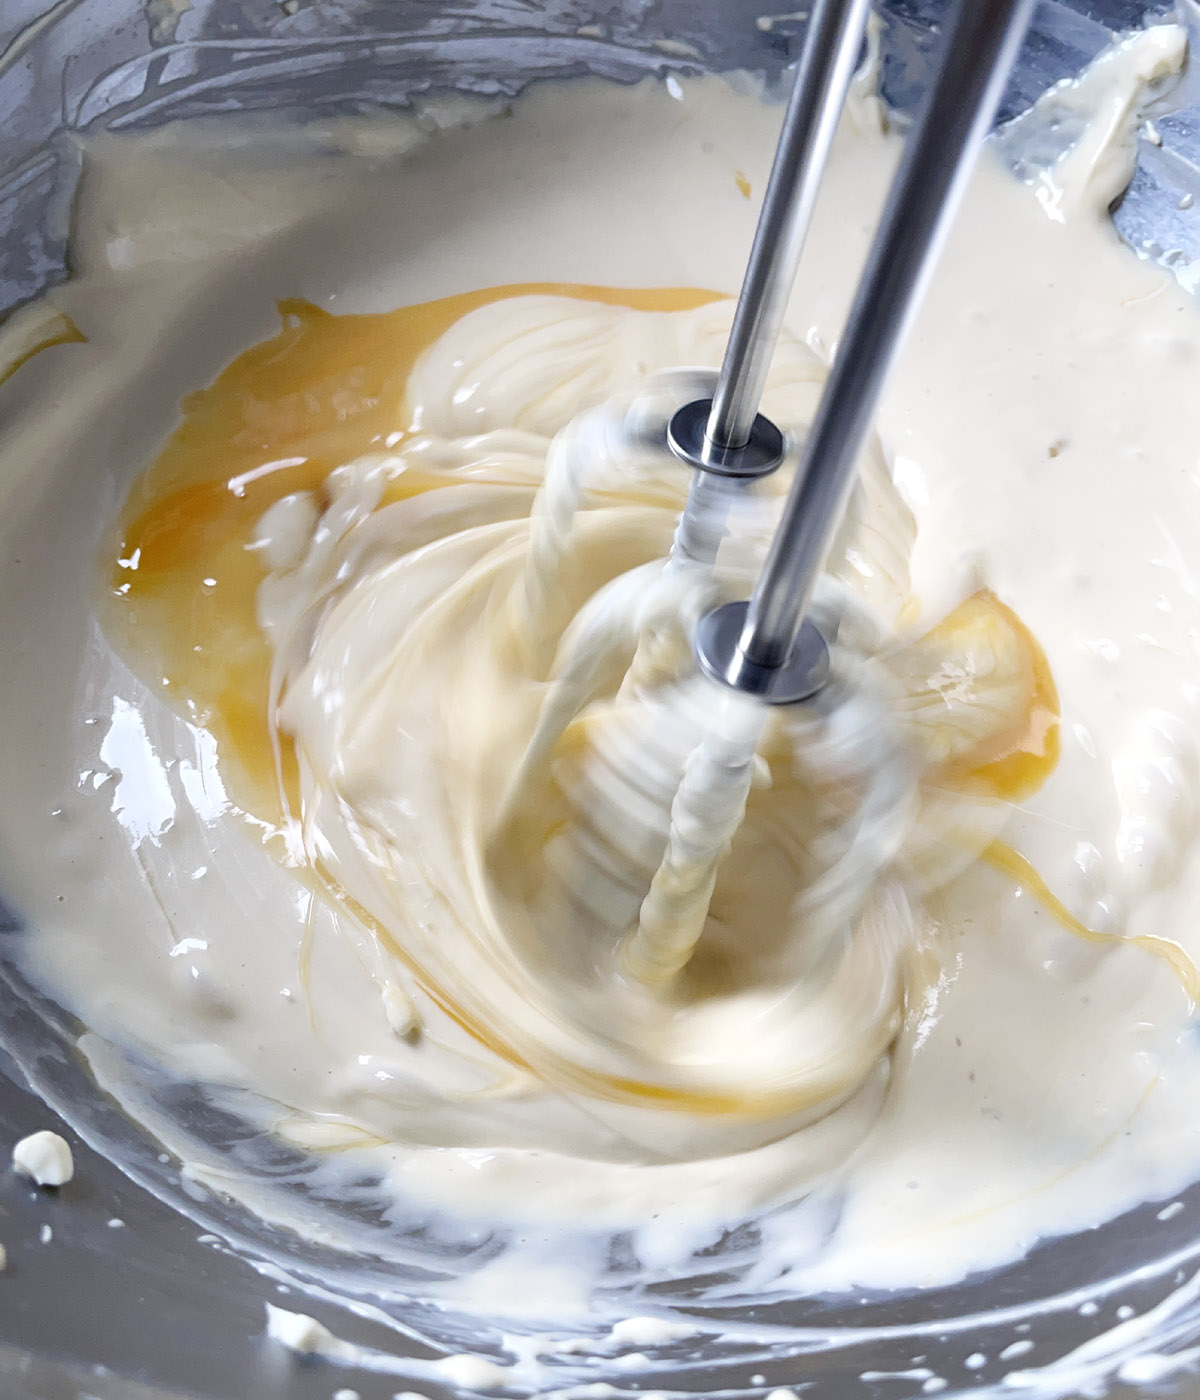
Tap the bowl on the counter several times to force any air bubbles up to the surface.
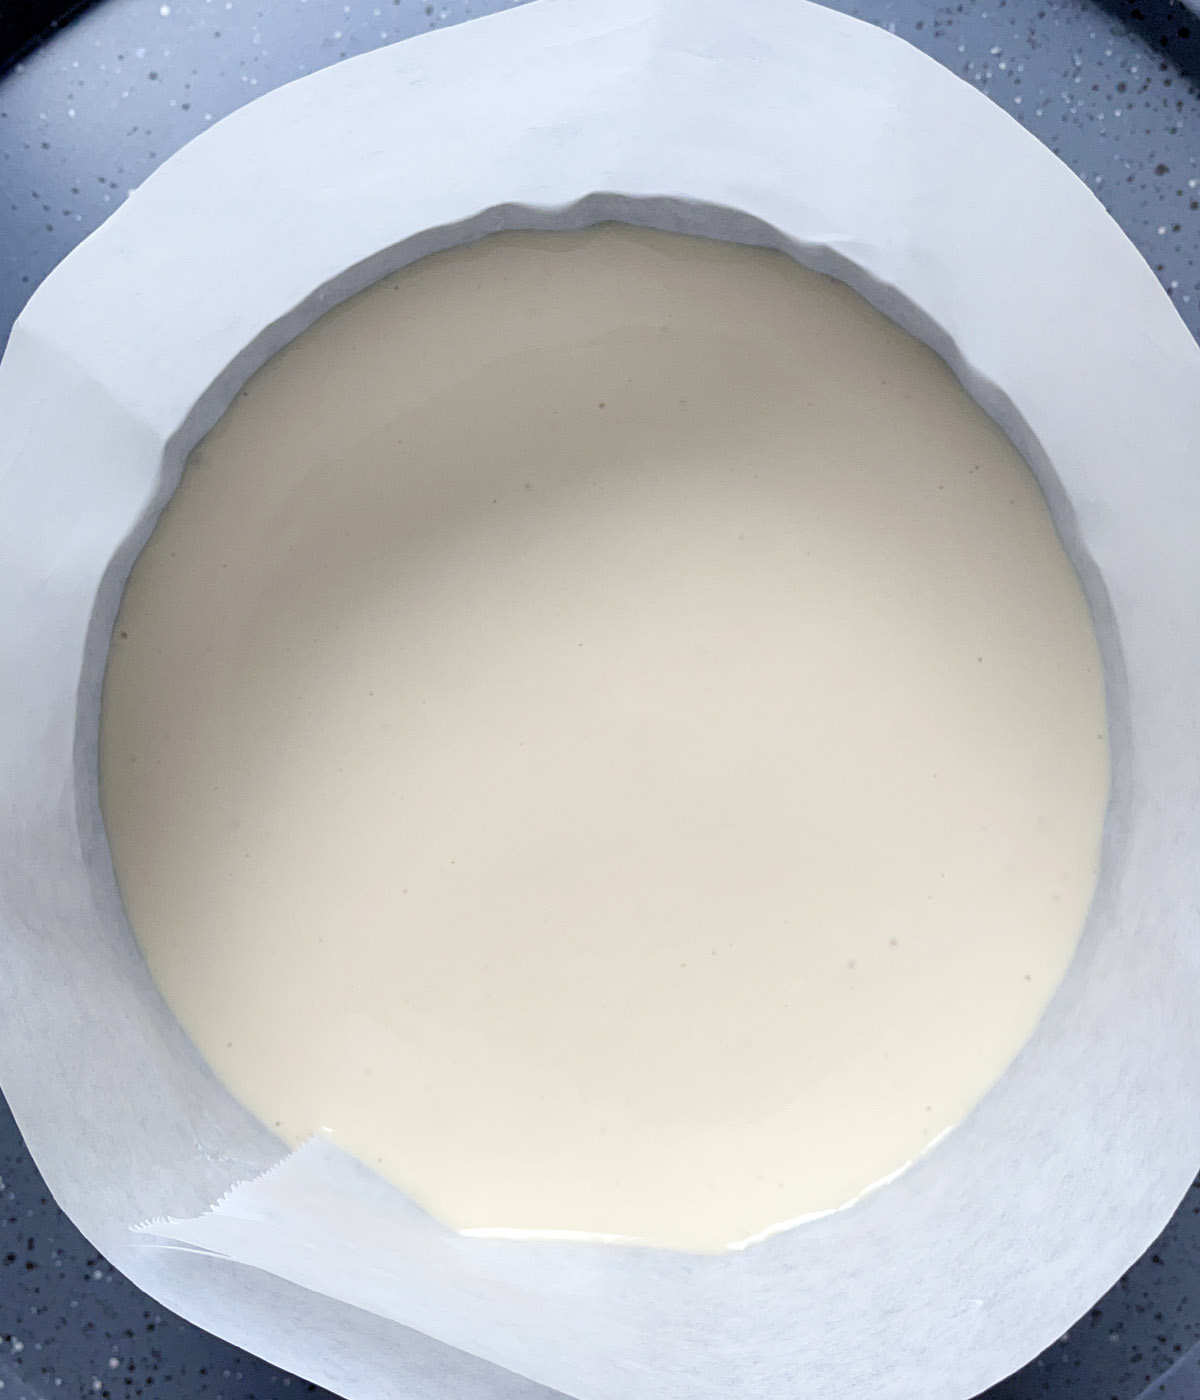
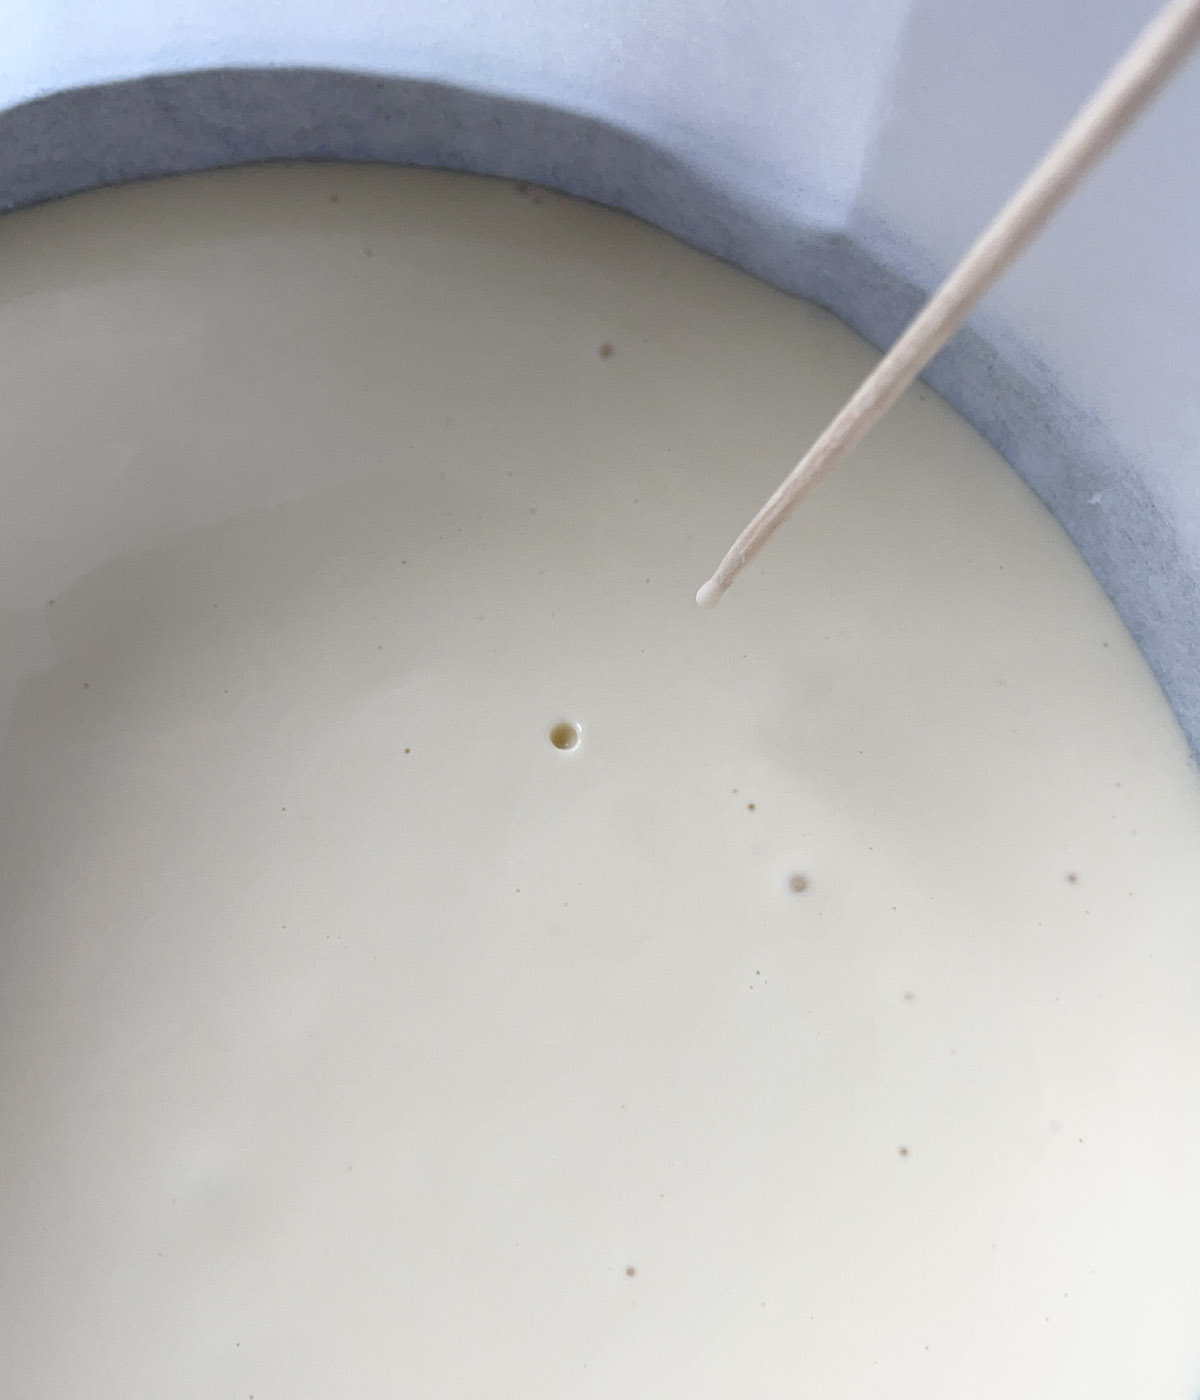
Pour the cream cheese mixture into your prepared springform pan. Any air bubbles that don't pop, you can poke with the tip of a toothpick...but don't worry about them too much!
Baking the Cheesecake
NO WATERBATH! Traditionally, baking cheesecake involves a water bath, the purpose being to reduce any chances of getting unsightly cracks in the cheesecake (although cracks don't affect the taste!).
I didn't want to deal with a waterbath and learned that it's not necessary! The same results can be achieved by baking the cheesecake slowly at a lower temperature!
Bake the cheesecake for 1 hour 10 minutes in a preheated 225F/110C oven.

Cooling the Cheesecake
Once the baking time is done, turn off the oven and prop the door open with a wooden spoon. Leave the cheesecake in the oven for an hour to cool down. Again, allowing the cheesecake to cool down slowly after baking reduces the chances of cracks.
Transfer the cheesecake to a rack on the counter and let it cool down to room temperature, about 1-2 hours.
Transfer the cheesecake, uncovered, to the fridge to firm up at least 4-6 hours before covering tightly. Let the cheesecake sit overnight before serving.
Expert Tip: Storing the cheesecake uncovered in the fridge for a few hours before covering it will eliminate the chances of condensation on the cover and the cheesecake itself.
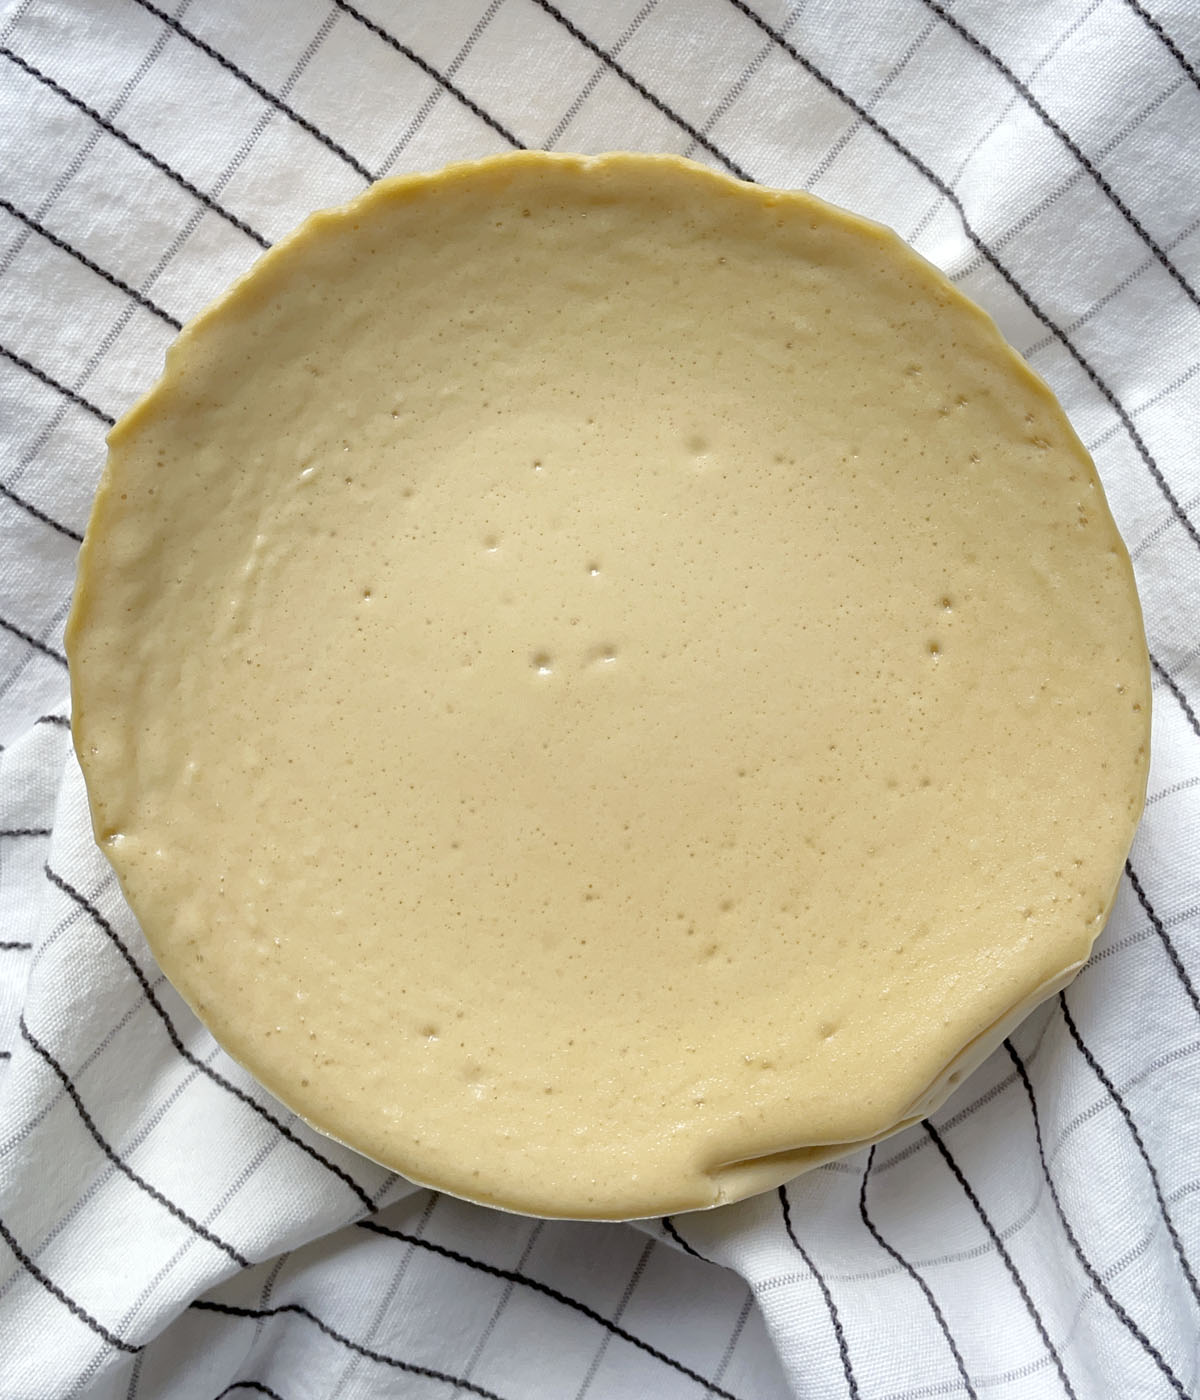
As you can see from this photo, I couldn't get all the air bubbles, but in the end, it really doesn't matter! It doesn't affect the taste, and you're likely to top it with whipped cream or berries anyway!
Slicing the Cheesecake
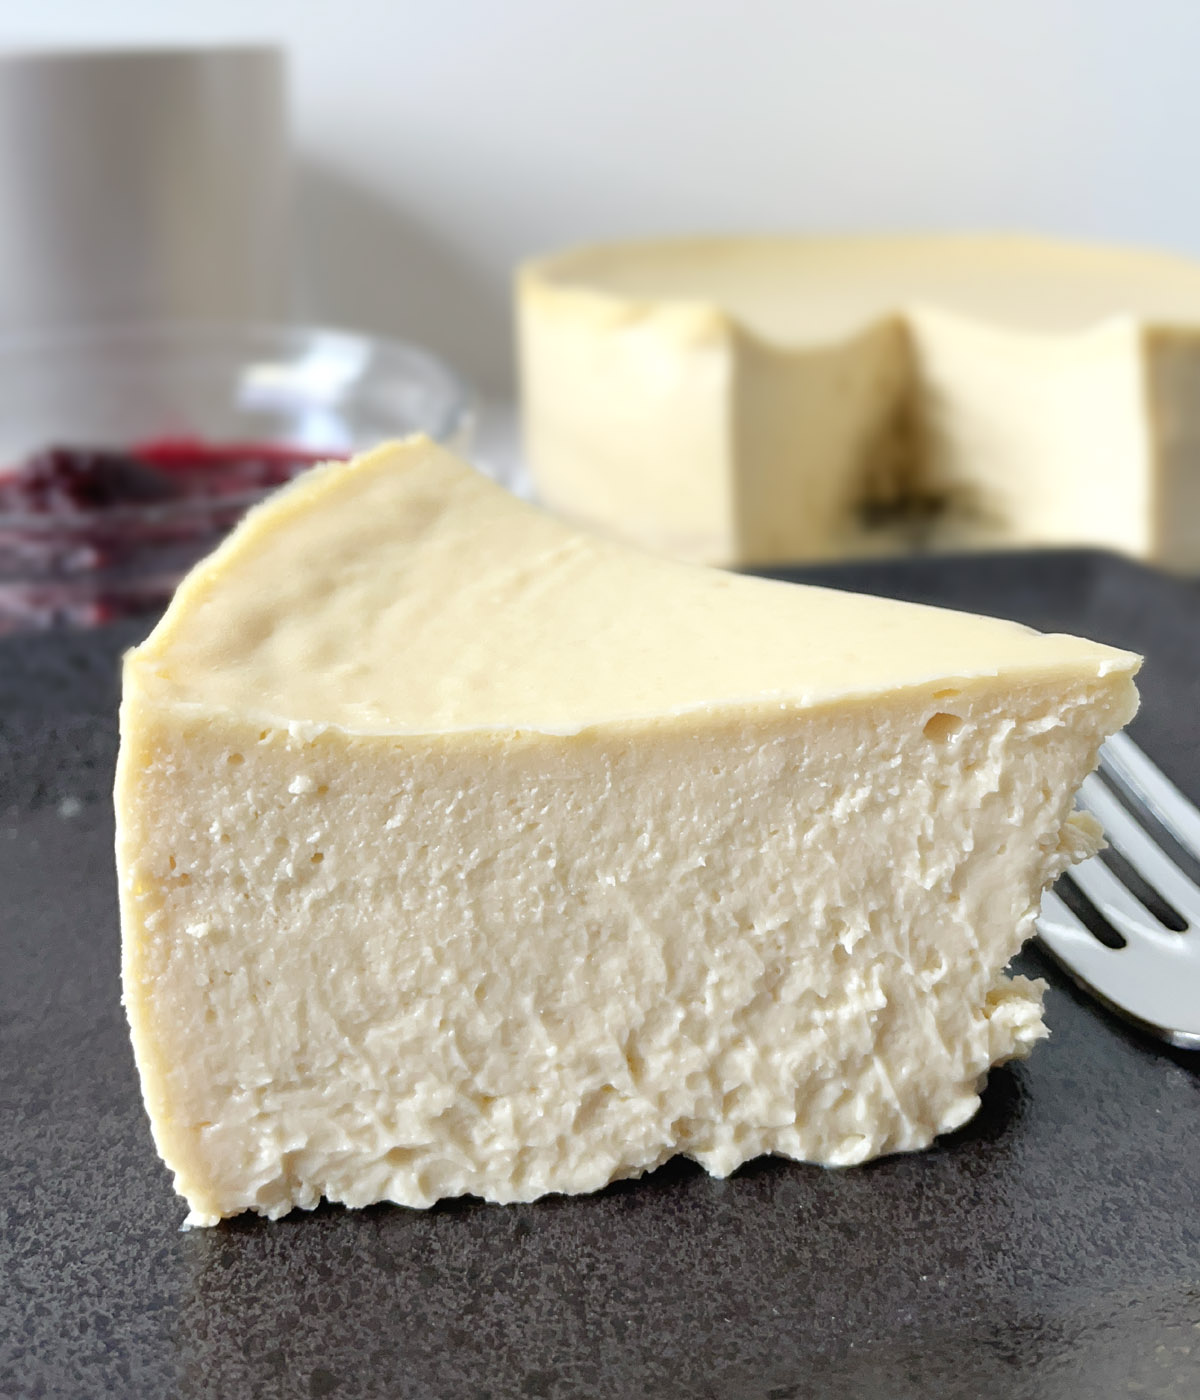
Run your knife under hot water to heat it, wipe it dry, and make a slice in your cheesecake. Do this for every slice for clean cuts.

I like to use this knife because it's thin and the holes also help with the cheesecake not sticking to it.
How to Serve It
While this crustless cheesecake may seem small, it is creamy rich and it can easily serve and satisfy 6-8 people! If you're a purist, enjoy your slice as is, or make my Ridiculous Easy Berry Compote for some fruity tang to offset the sweetness! Whipped cream is also always a welcome addition...learn how to make whipped cream yourself!
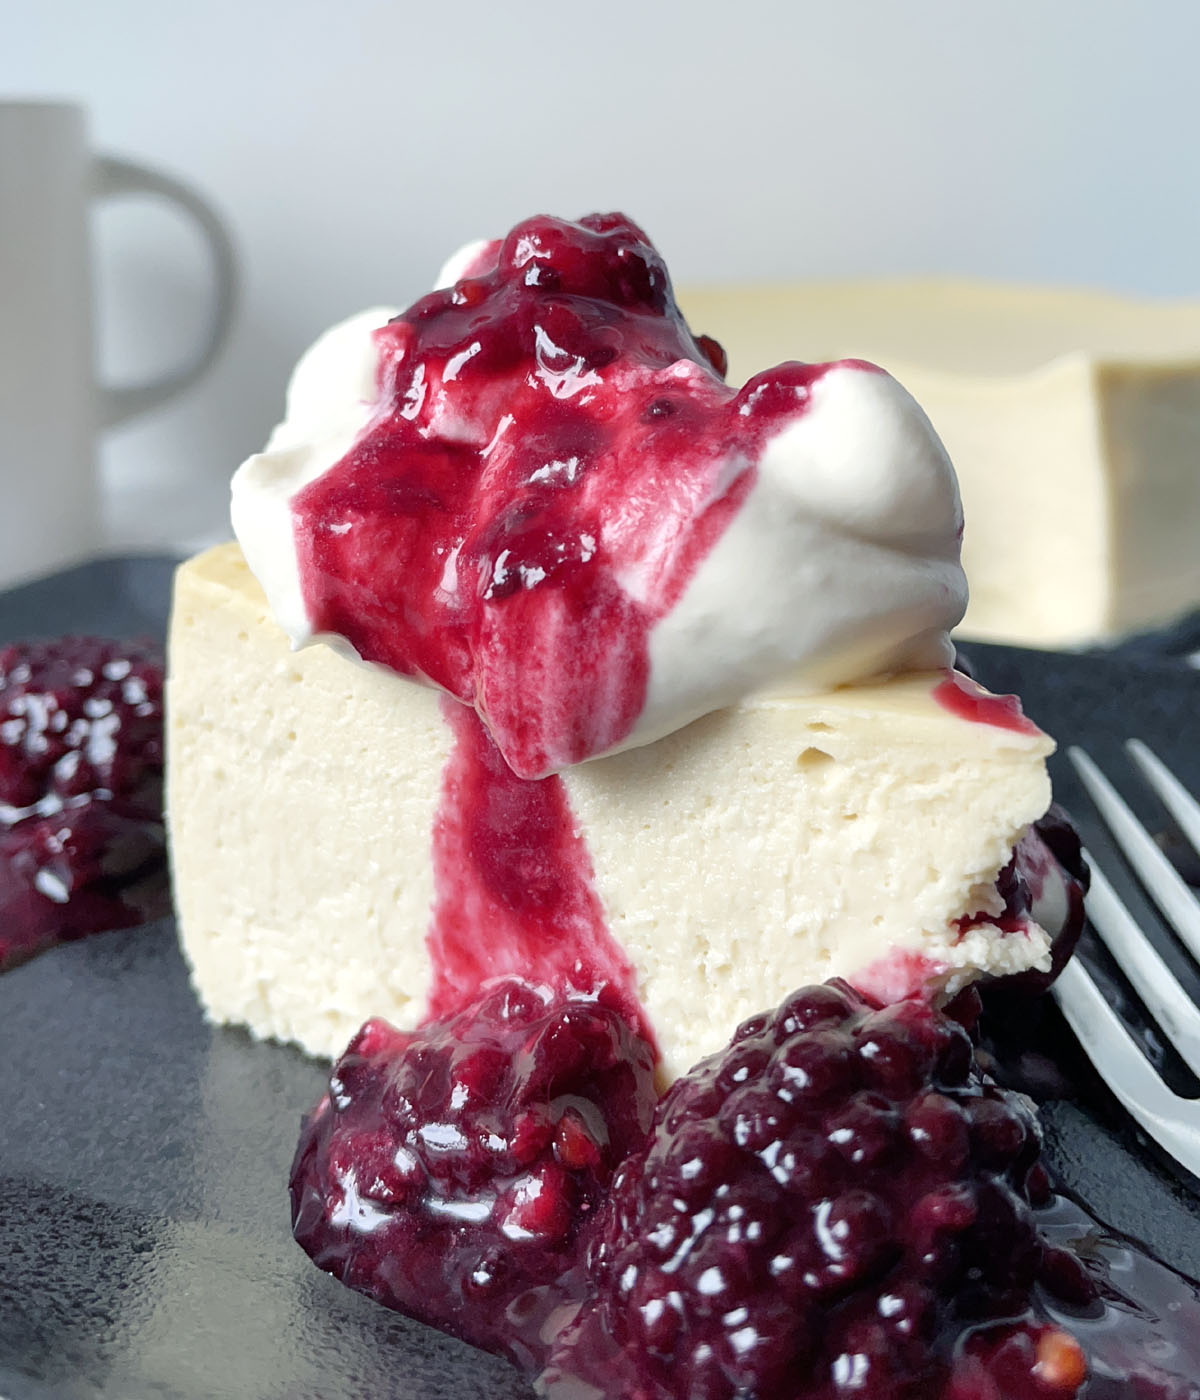
Store leftover cheesecake in the fridge, making sure to cover it with foil or a lid so it does not dry out.
Other Delicious Desserts
If you're looking for other dessert ideas to serve for a celebratory meal, gathering, or just because, be sure to check out these great options!
- Creamy Cheesecake Squares with Nut Crust
- Decadent Flourless Chocolate Cake
- Rustic Apple Galette
- Flourless Chocolate Lava Cakes
- Mint Chocolate Coffee Ice Cream
Serve the cheesecake with hot beverages like Ginger Honey Tea, Coffee Milk Tea, or English Tea Latte. Cold beverages like Cold-Brewed Coffee or Iced English Tea Latte would also go well!
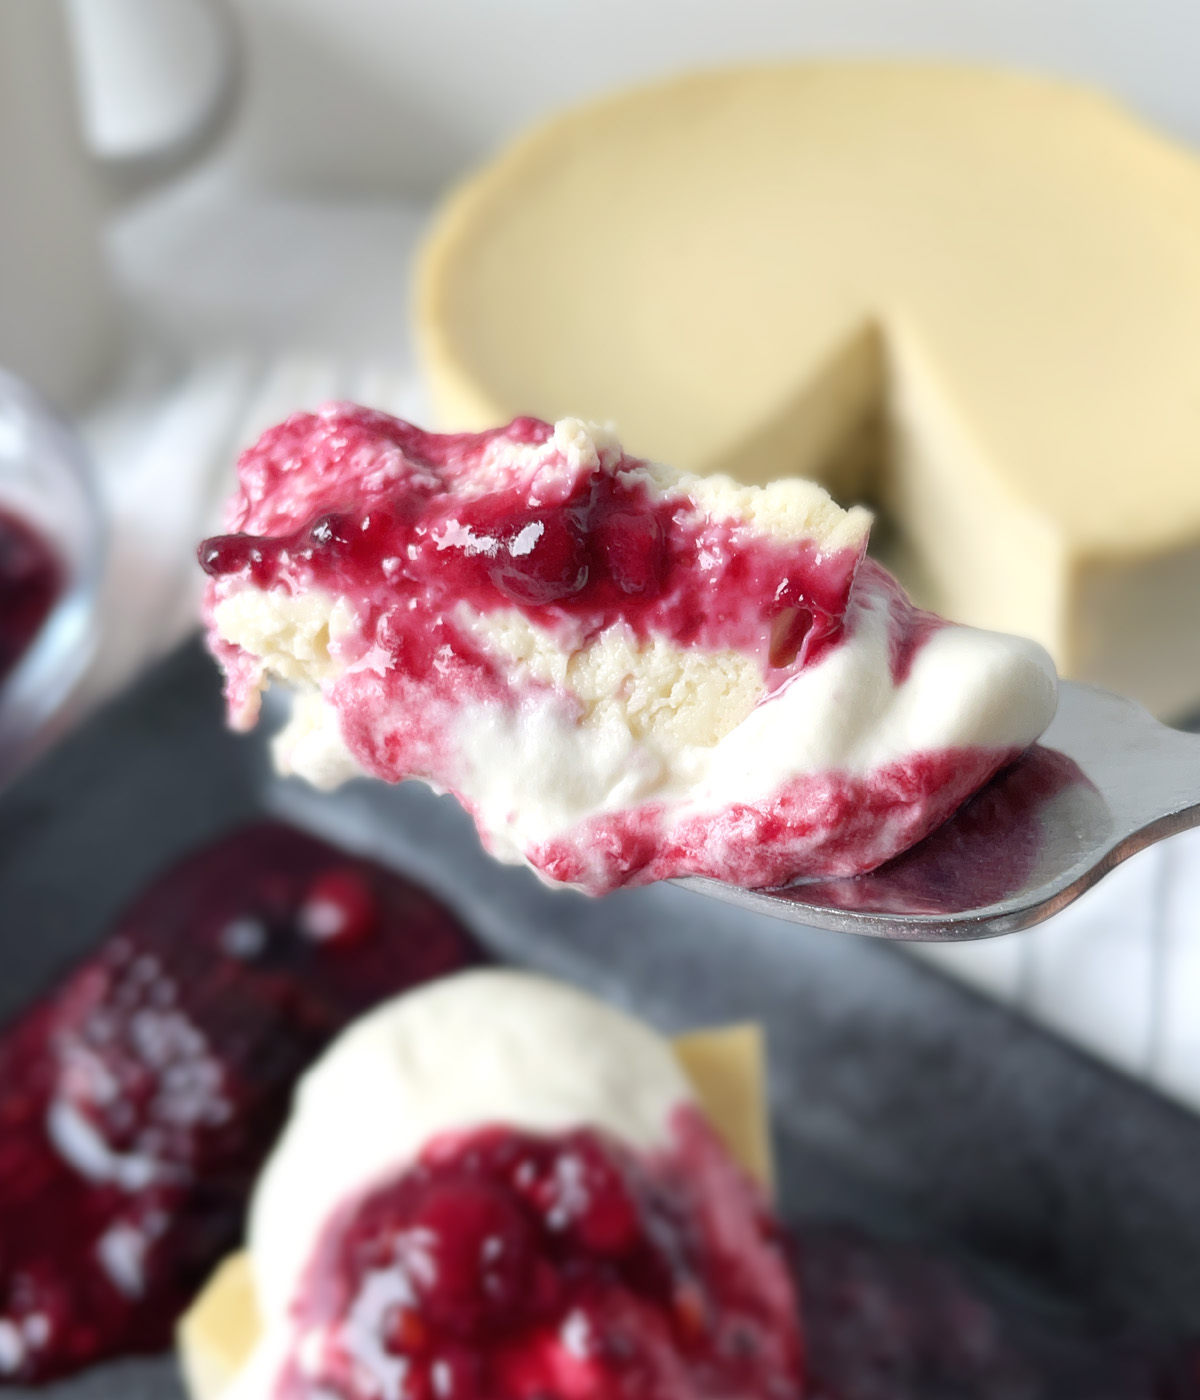
This crustless cheesecake is a breeze to whip up, and anyone on a gluten-free diet gets to enjoy it, too! Eliminating the crust also lets you enjoy this wonderfully delicious cheesecake in its creamy entirety! Definitely give this cheesecake a try the next time you're trying to figure out what dessert to make for a special occasion, or no occasion! It's sure to be a hit!
~ Lisa.

Creamy Crustless Cheesecake
Ingredients
- 2 8-oz. blocks full-fat cream cheese, room temperature
- 2 eggs, room temperature
- ⅓ cup maple syrup
- ¼ cup Greek yogurt, room temperature
- 1 teaspoon vanilla extract
Instructions
- Preheat oven 225F/110C.
- In a large mixing bowl, beat room temperature cream cheese until smooth, scraping down the sides of the bowl 1-2 times.
- Add the maple syrup, Greek yogurt, and vanilla to the cream cheese and beat until just blended.
- In a separate bowl, gently beat the room temperature eggs, being careful not to whip too much air into them.
- Add the beaten eggs half at a time to the cream cheese mixture, beating until just blended after each addition.
- Line the bottom of your 6-inch springform pan with parchment paper. Make a parchment collar for your pan, if desired.
- Tap the bowl on your counter several times to force any air bubbles to the surface to pop. You can also pop air bubbles with the tip of a toothpick.
- Pour the cream cheese mixture into the prepared springform pan.
- Bake for 1 hour 10 minutes.
- Switch off the oven heat and prop the oven door open with a wooden spoon. Leave the cheesecake in the oven to cool for 1 hour.
- Remove cheesecake from oven and place on a rack to cool down to room temperature, about 1 hour.
- Store, uncovered, in the fridge for at least 6 hours (overnight is best).
- Serve with fresh whipped cream and berry compote. Serves 6-8 people.
Notes
- This recipe make one 6-inch cheesecake which will serve 6-8 people. Make sure to use the right sized springform pan.
- Make sure all ingredients are room temperature before starting to make the cheesecake.
- Chill the cheesecake for at least 6 hours, uncovered, in the fridge to firm up before serving. Overnight is best.
- Heat a knife under hot water to heat the blade, wipe it dry and make a cut in the cheesecake. Repeat this step for each cut to get clean cuts.
- Store leftover cheesecake covered in the fridge.



Corinne
This looks perfect! Can I bake as individual cupcake size?
Hi Corinne! Baking as individual cupcake size should work, but obviously, the baking time has to be adjusted. I can't say definitively since I haven't made cupcake sized cheesecakes before, but I am thinking baking for 30 minutes might be enough, and then allowing it to cool down slowly in the oven for the full hour as the rest of the recipe states. If you try it, please let me know how it goes! Thanks for the question.
Mehjabeen
Hi thanx for letting me know another thing i wanted to know is could i use a crust , i know the name is crustless but i always use crust for my cheesecakes & cheesecake needs a crust
Hi Mehjabeen! For sure, you can use crust if you like! Just prepare your crust as you normally would and then add the cheesecake filling. Thanks for the question!
Janet
What can I substitute the maple syrup with? Can a sugar substitute be used?
Hi Janet! You could use any liquid sweetener, like honey or agave syrup. You could use granulated sugar, but the cheesecake batter with be thicker since there isn't the same amount of liquid. I would certainly give it a try, anticipating that the cheesecake might be slightly more dense. Thanks for the question!
Sara
any suggestions for dairy free? I can use dairy free cream cheese, but wondering about the yogurt.
Hi Sara! Thanks for the question. Unfortunately, I'm not well-versed in non-dairy options for replacing the yogurt. I have heard of coconut milk yogurt...but I'm not sure if that might work?
Annie Jane Cotten
Hi! I am so excited to make this recipe, and have all my ingredients and tools assembled! Alas, I believe my springform pan is a 9 inch pan. How best can I adapt the recipe to the size of the pan? Or should I go forward, knowing it will be a much thinner cheesecake?
( I do not live in an area where one could just pop out and buy a correctly sized pan.)
Annie Jane Cotten
Update: I just kind of went with it and used somewhere between the 1 and 2 cheesecake ingredients listed ( so three eggs, rather than 2 or 4, etc). I'm at the over propped stage and it looks and smells amazing. New question: At what point do you remove the springform pan collar?
Hi Annie! Thanks for the comments and for making the recipe! You did what I would have suggested...multiply the recipe by 1.5 for the larger springform pan, or keep it the same and just have a shorter cheesecake. As for the springform collar, I do not remove it until the cheesecake has been chilled overnight and it is completely set. I hope that helps and I hope you like the cheesecake!
Mehjabeen
Hi when u said yougurt u meant buttermilk?
Hi Mehjabeen! Thank you for the question. No, the recipe states Greek yogurt and that is what I mean to be used. Do not use buttermilk. Hope that helps!
ROBYN
So easy and yet so delicious.
Followed instructions exactly - the hardest part was leaving it overnight before devouring!
Thanks so much for making the cheesecake, Robyn! So glad you liked it!